Posted in Home Updates

Transformation Tuesday: Master Bedroom

Well, the next stop (and almost the last!) on my Home Updates series, is the master bedroom. We definitely didn’t do anything to this room—not even a fresh coat of paint, in the five years we’ve lived here, until recently.

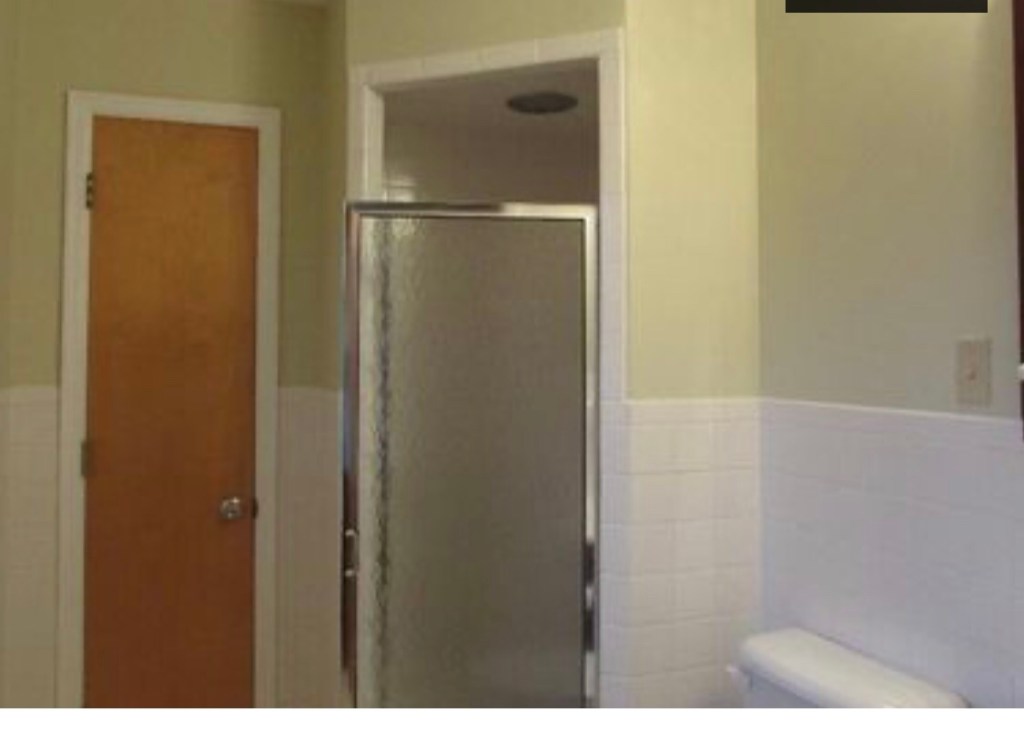
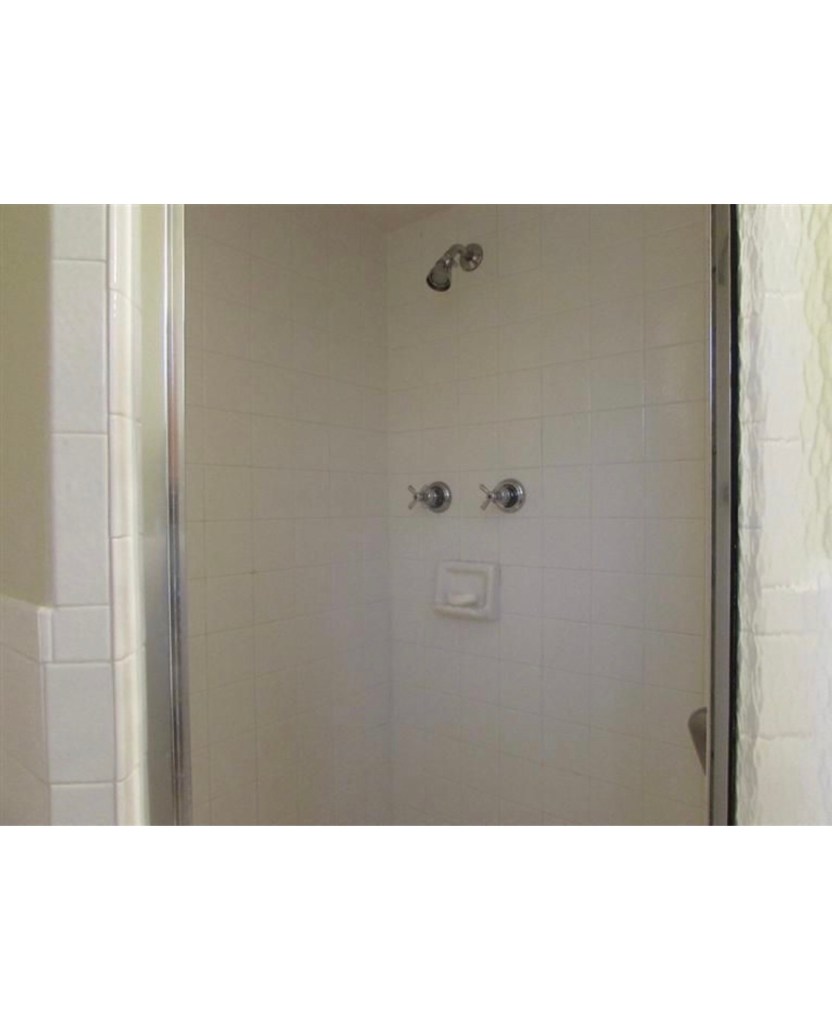
About two years ago, we met with a contractor about an addition for the back of the house. Essentially, the current master would become half a closet and half a bigger bathroom. The addition would be the master bedroom living space. While I’d love a bigger bedroom, the “need” was more for a bigger closet (#firstworldproblems) and then the kids would each have their own bathroom. Right now, they share the world’s smallest bathroom which is also the guest bathroom when we have people over. (Remember when having people over was a thing?!) Travis currently uses the basement bathroom and closet as his. To be honest, with an addition, I don’t even know if that would change πŸ˜‰ We’ve made do with the space we have.

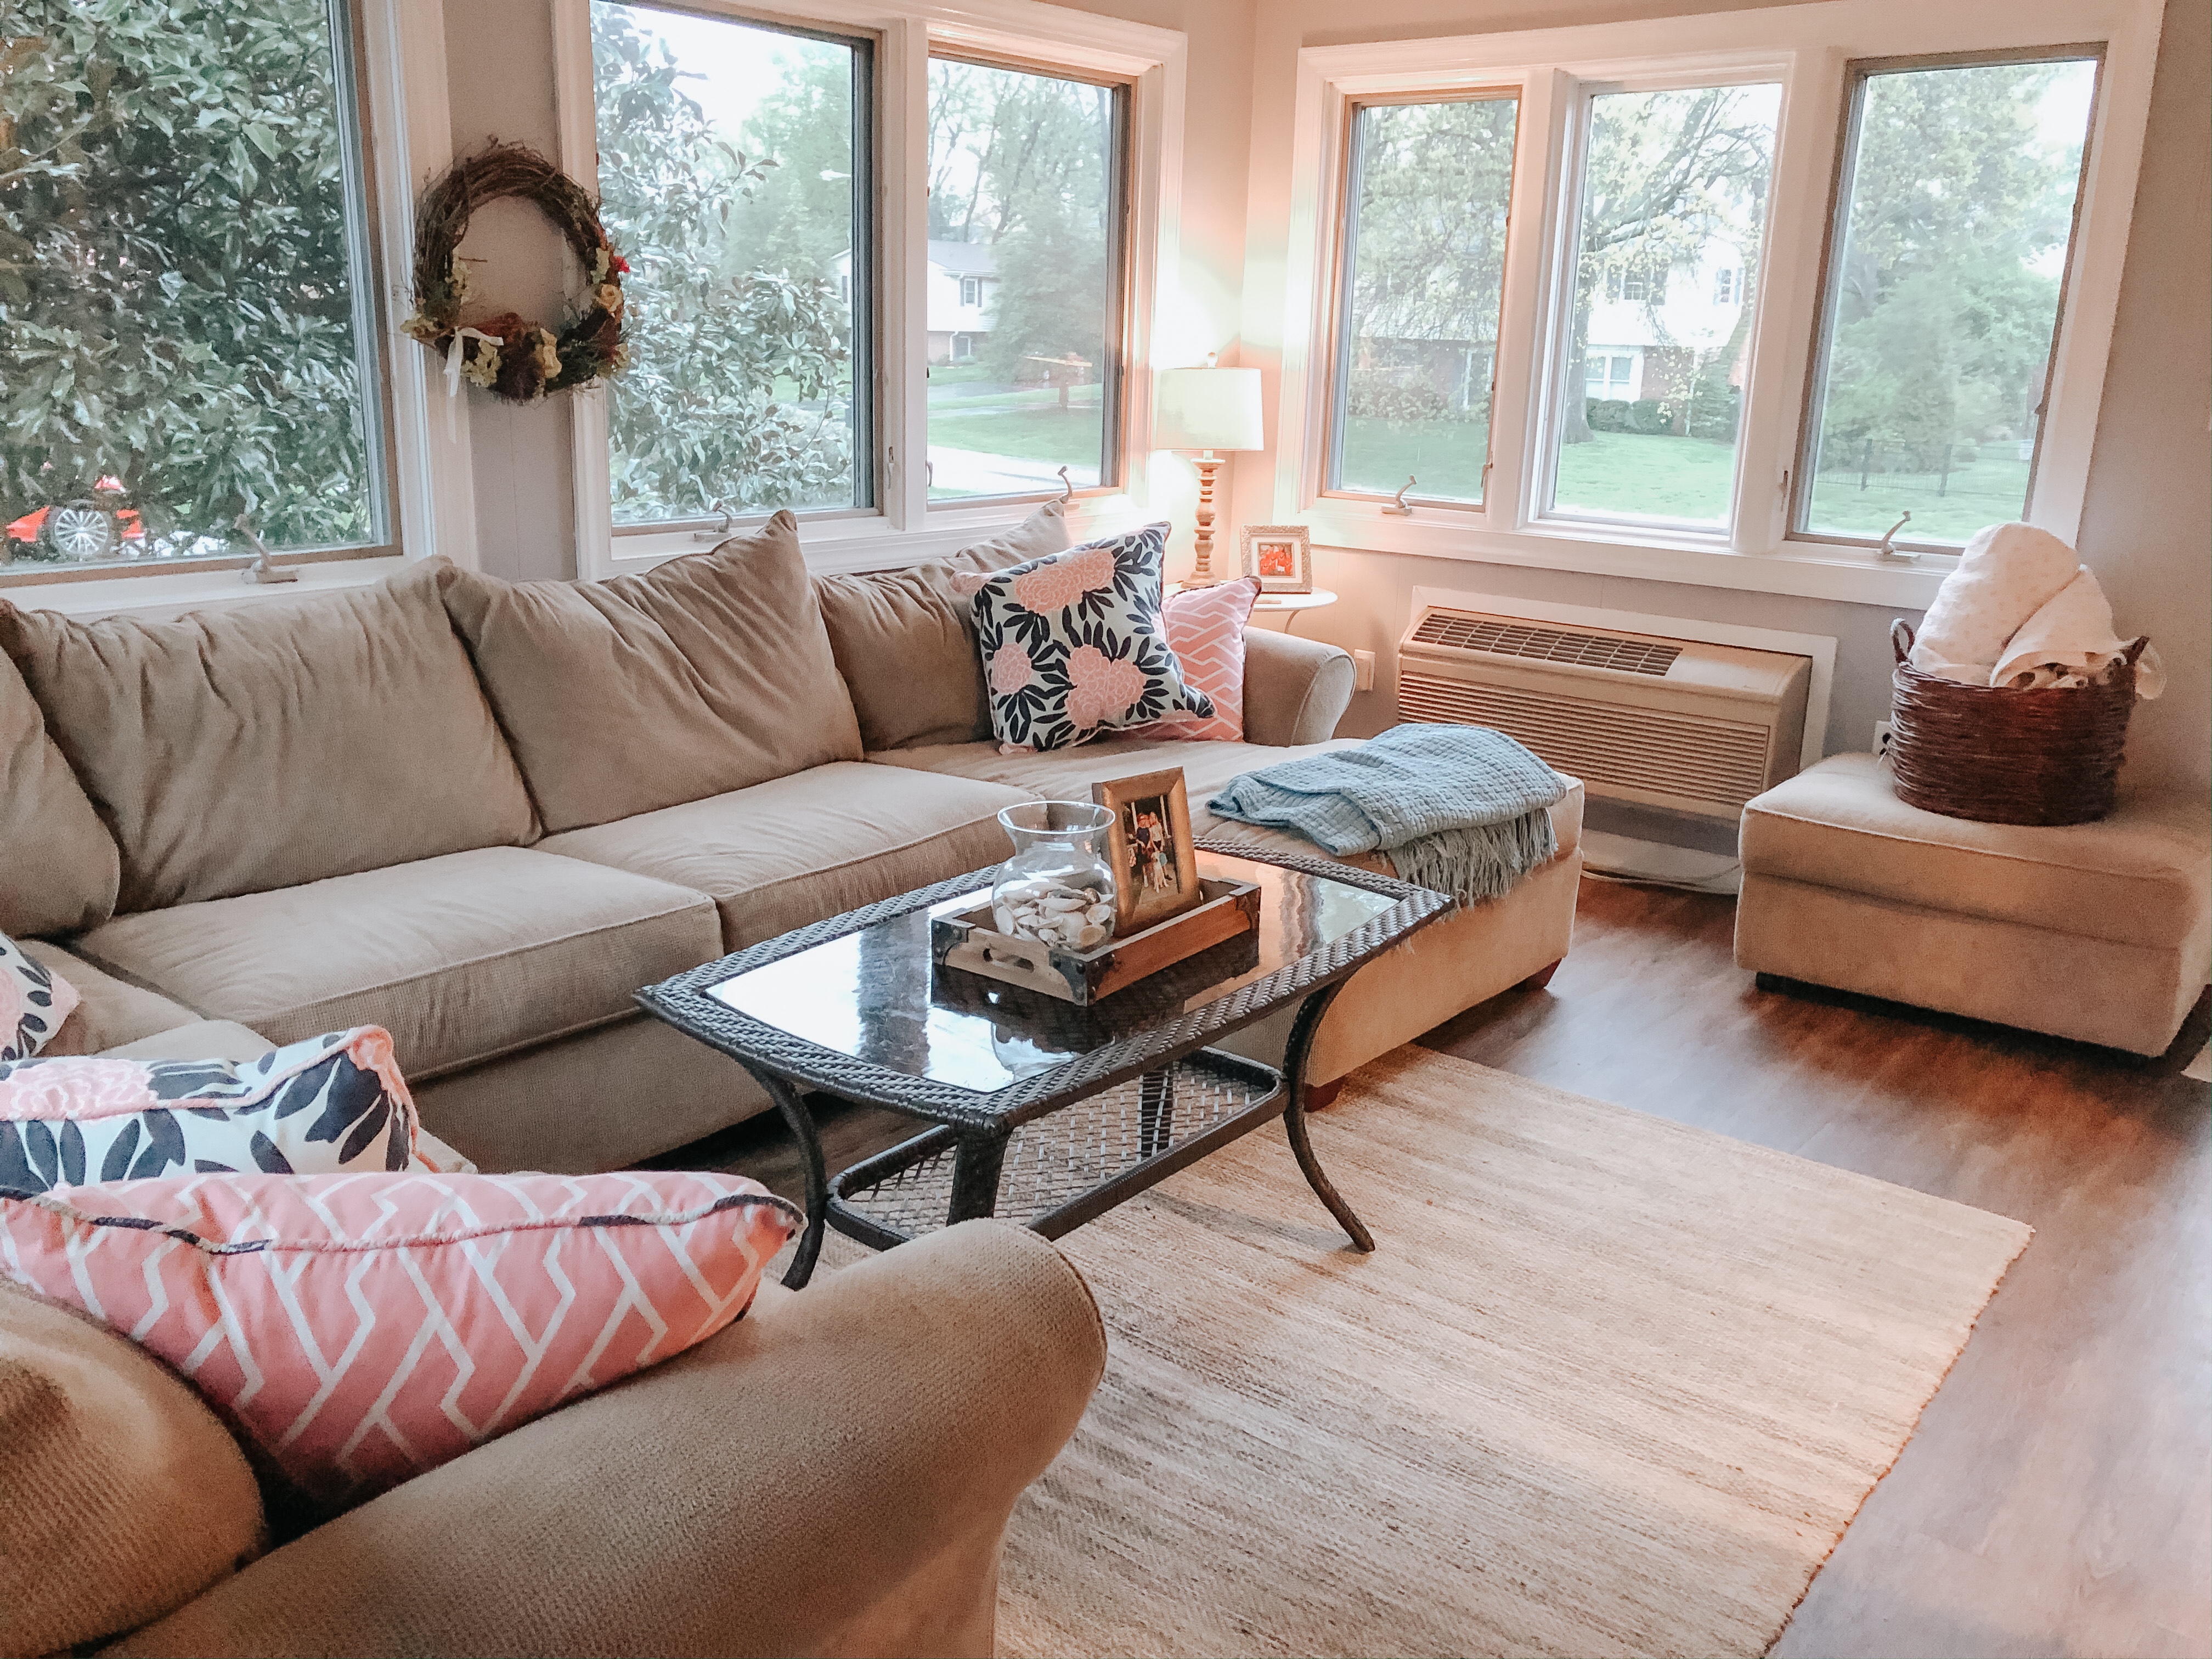
Also, as I’ve mentioned, I’m a home body. I’d love nothing more than a bedroom that’s more than a bedroom…I’d love space for a chair, so I could read a book, or a place where we could comfortably watch a movie, etc.

That being said, especially in these uncertain times, it’s difficult to think about spending such a large amount of money, so we’ve just decided to sit tight for now with those bigger decisions.

So, step one in our master update was when I finally ordered the wallpaper from Wallpops. Then, Travis and Hadley painted the bedroom Repose Gray which is what we have in our family room and office areas. I found a quilt and bedspread I loved at Target, but after a few weeks, I realized the quilt wasn’t going to work in the long term as far as being dog and kid proof, so I moved it to the basement guest bed and purchased a quilt from Wayfair that I’d saved a long time ago. Also, we finally hung the kids’ artwork up that I’d framed at least a year and a half ago! Lastly, it was fun to “shop my own home,” and I moved a few decorations into the bedroom that were in other parts of our house.
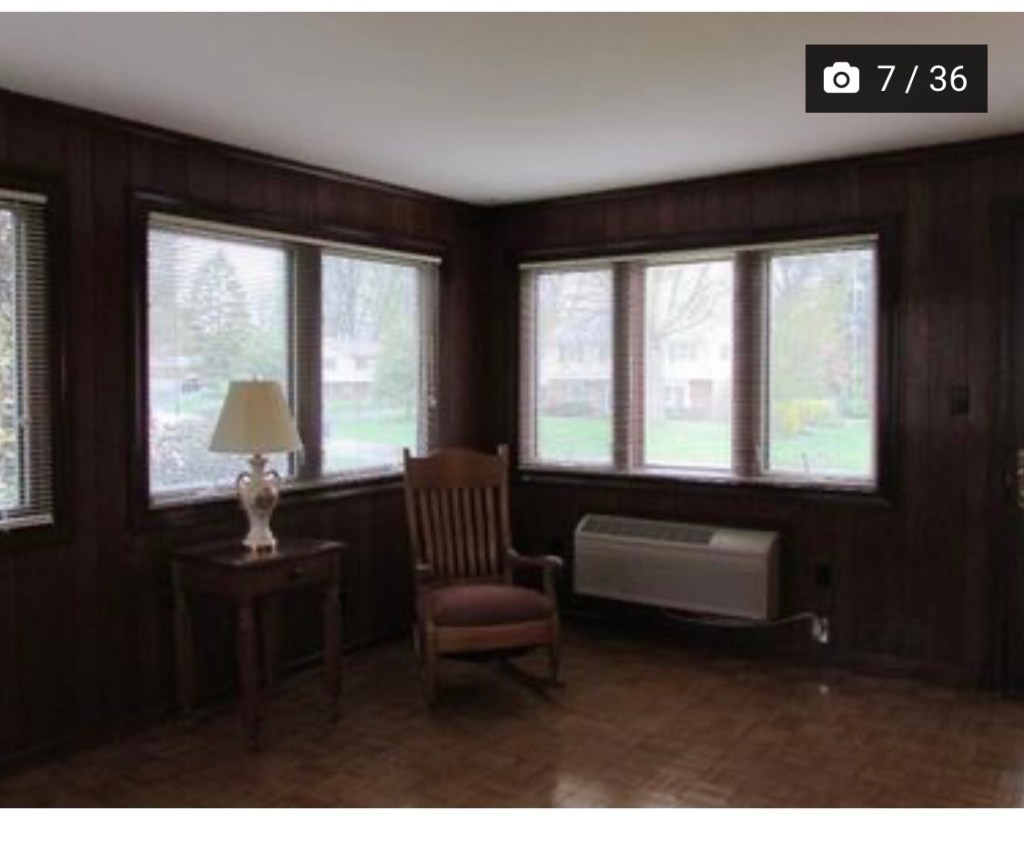
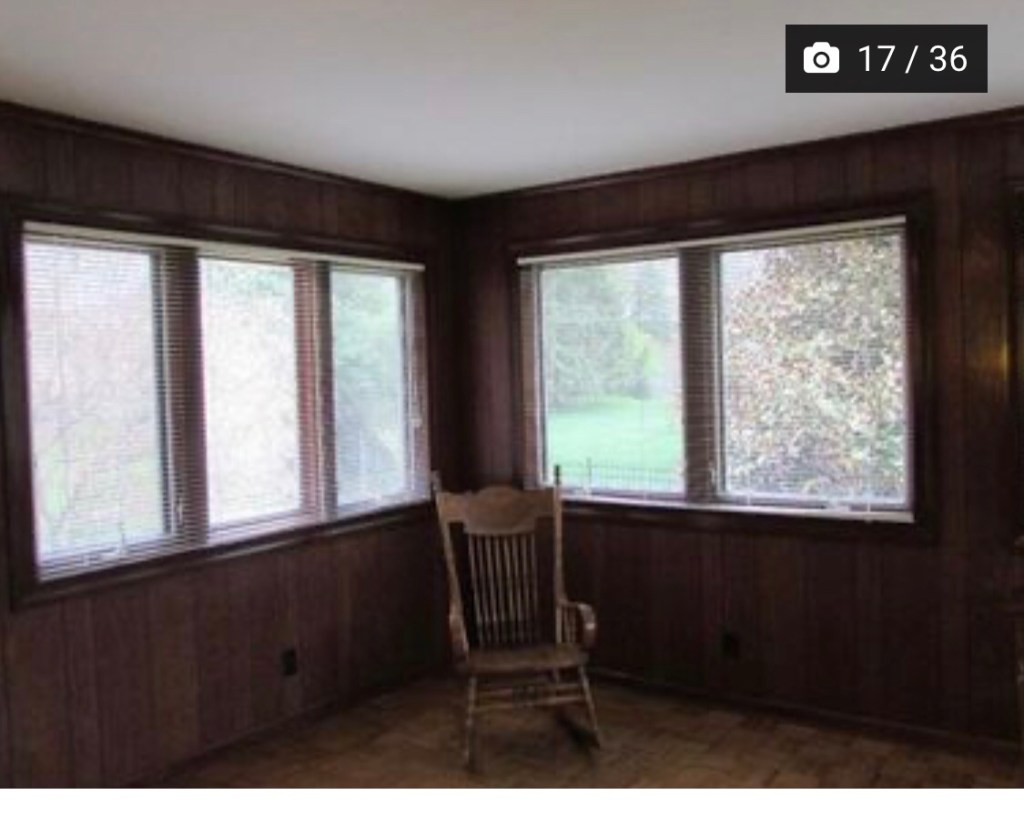
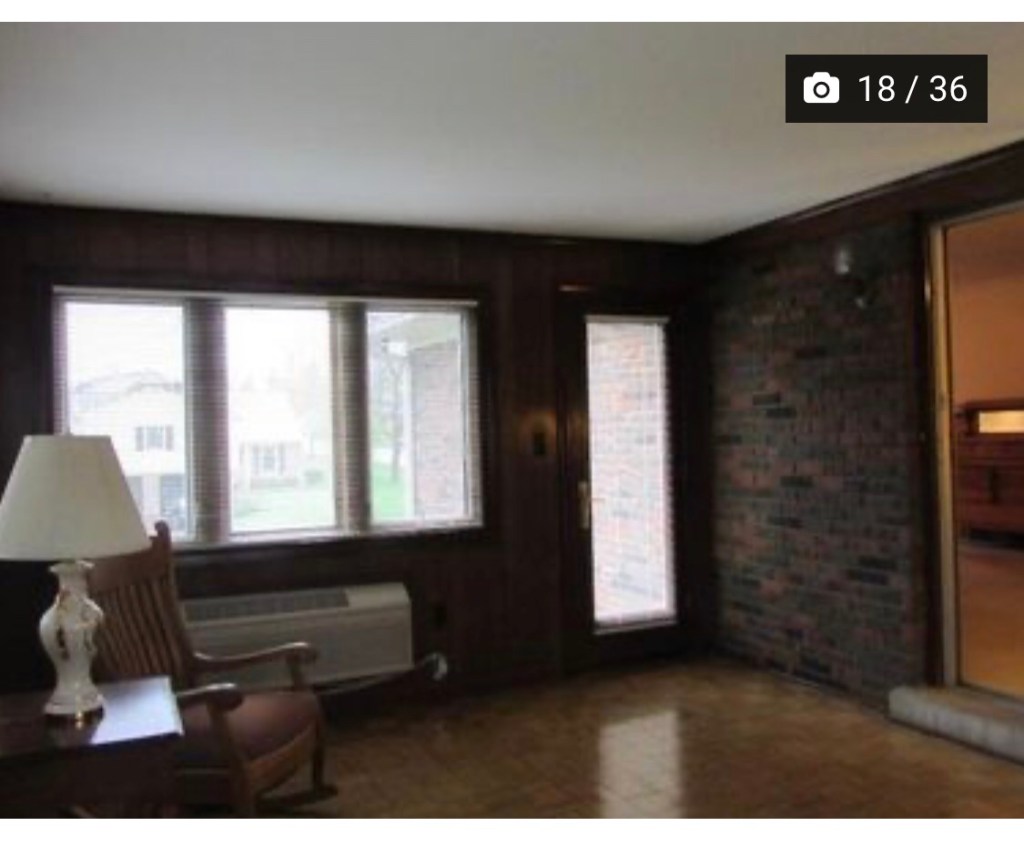
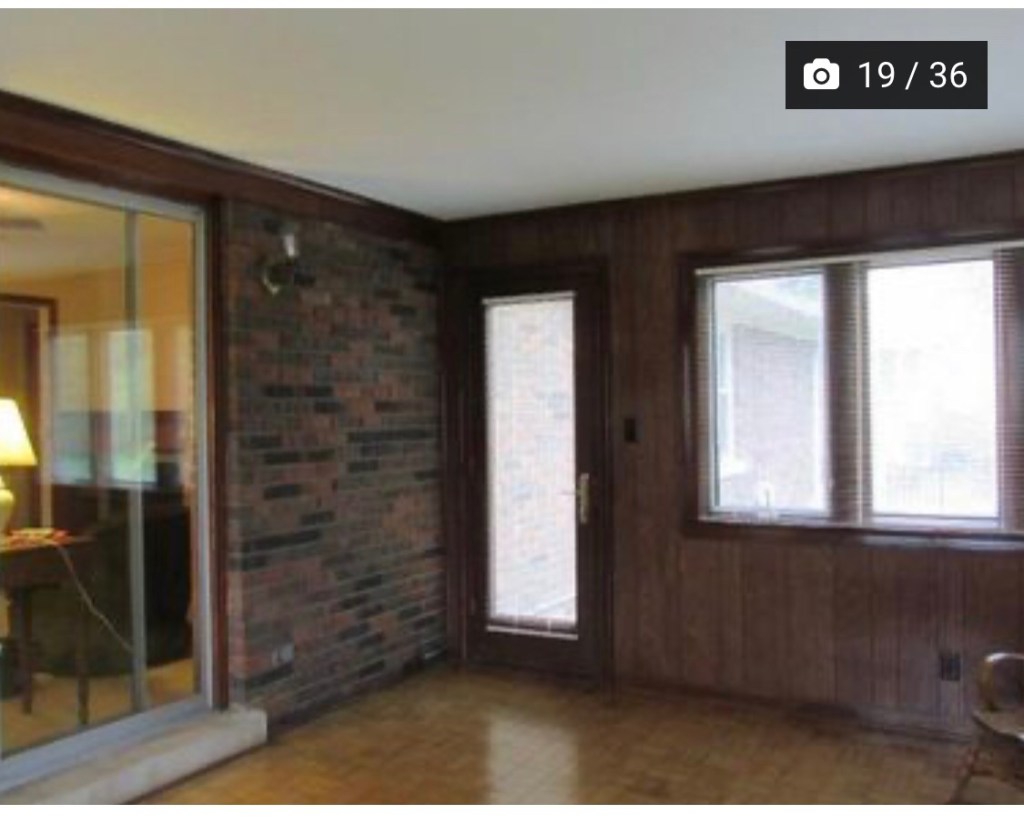
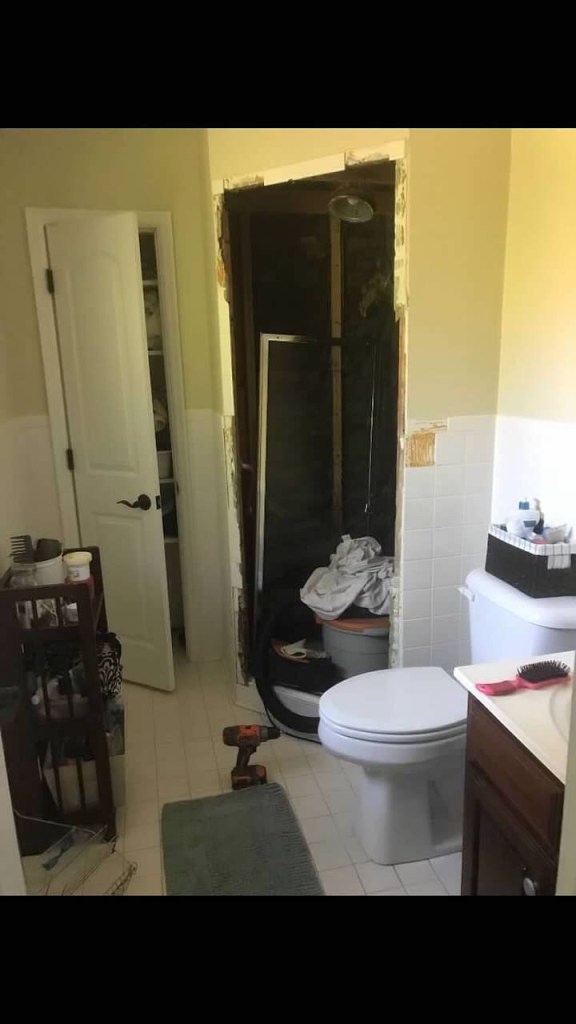
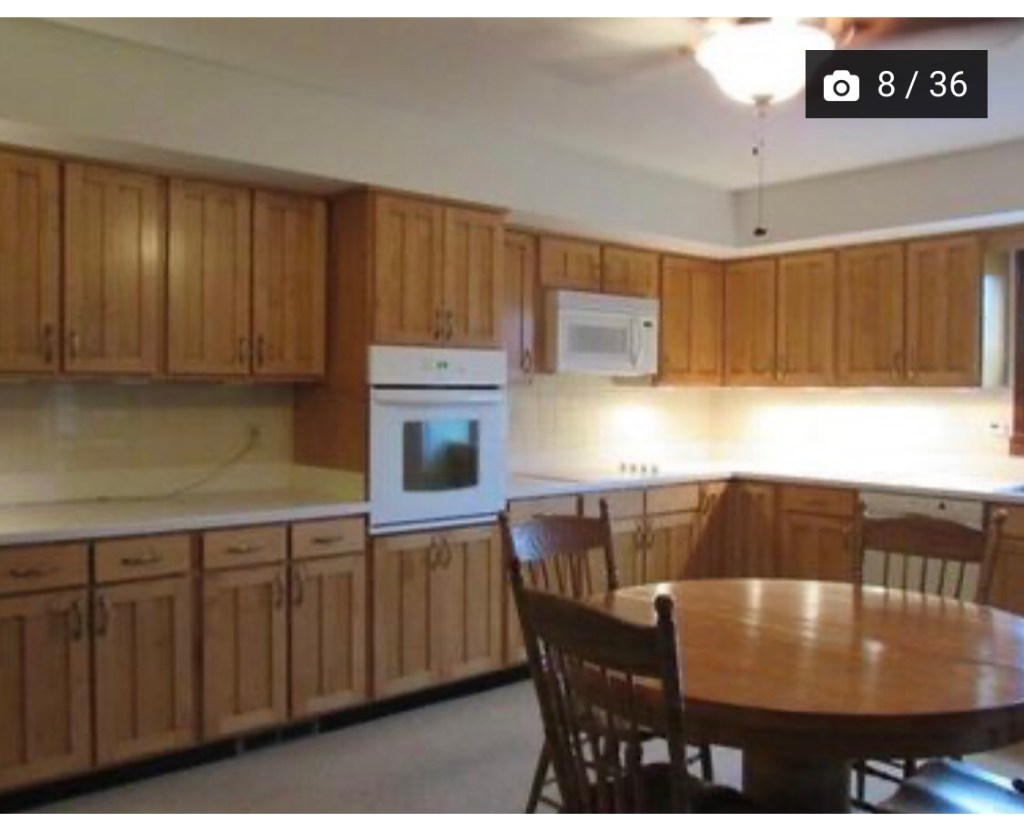
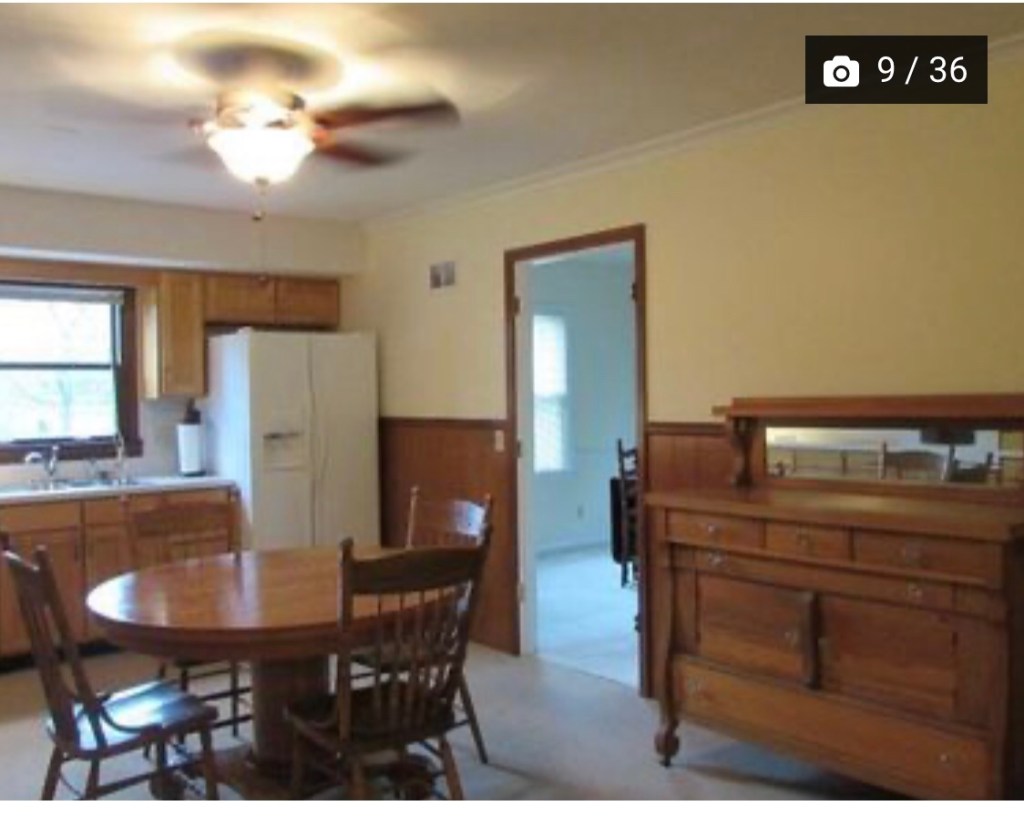
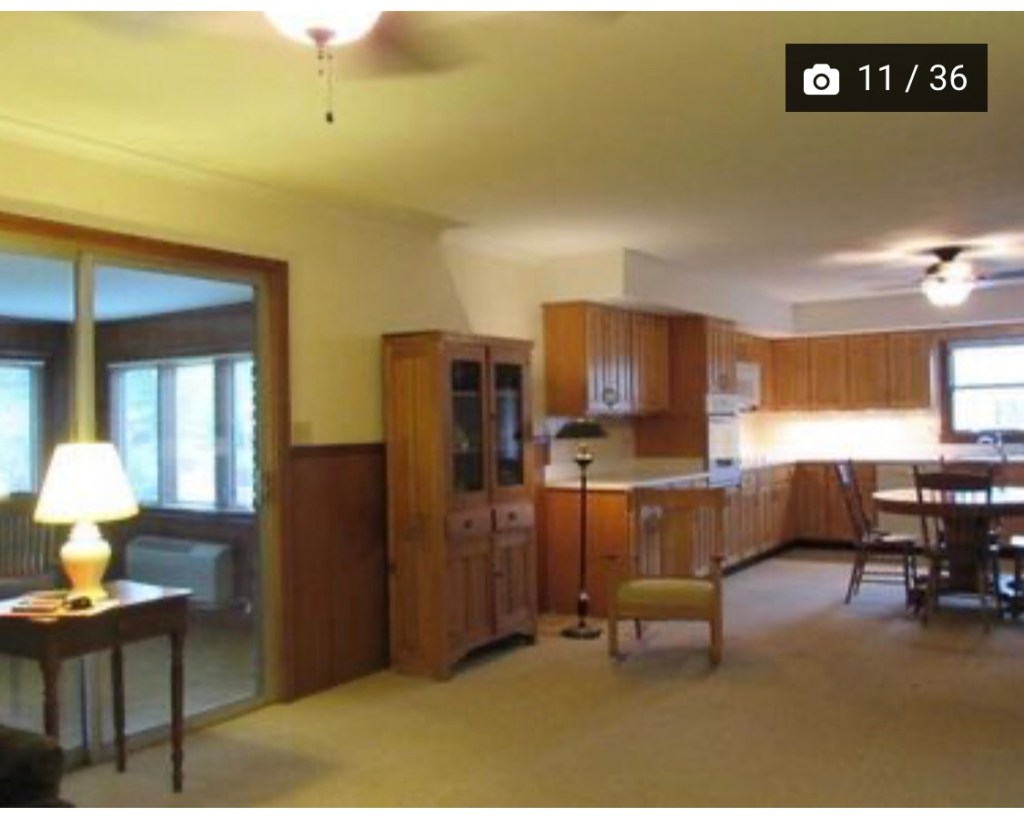
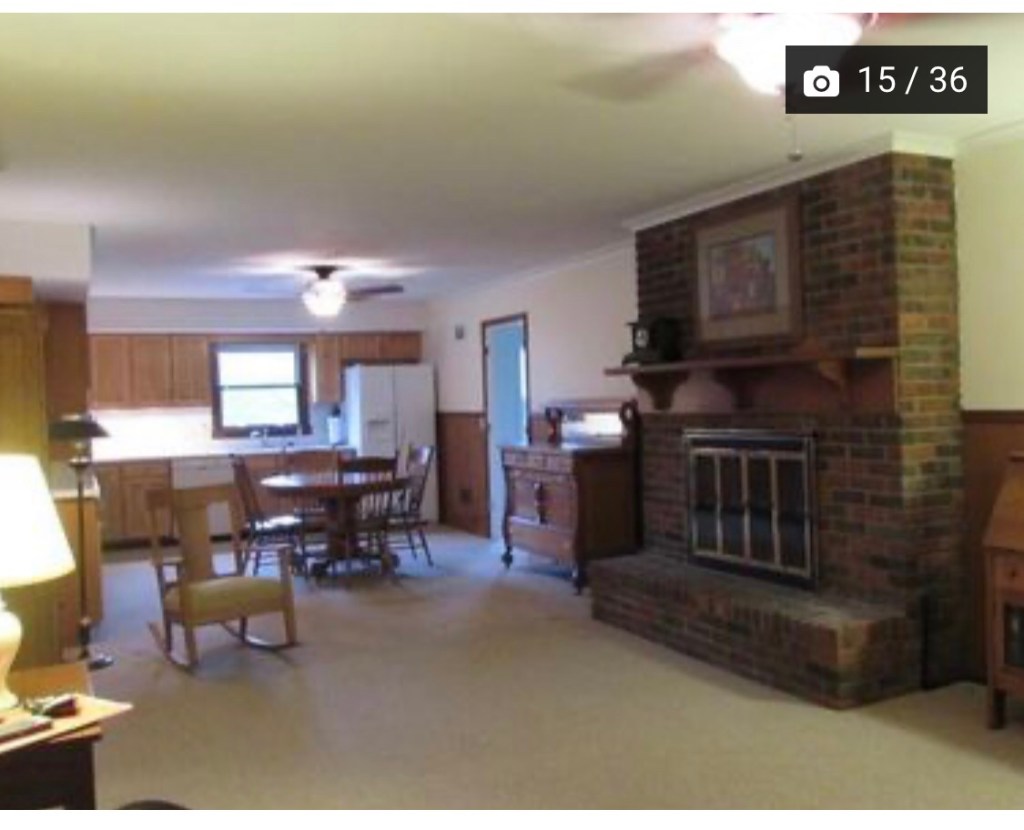
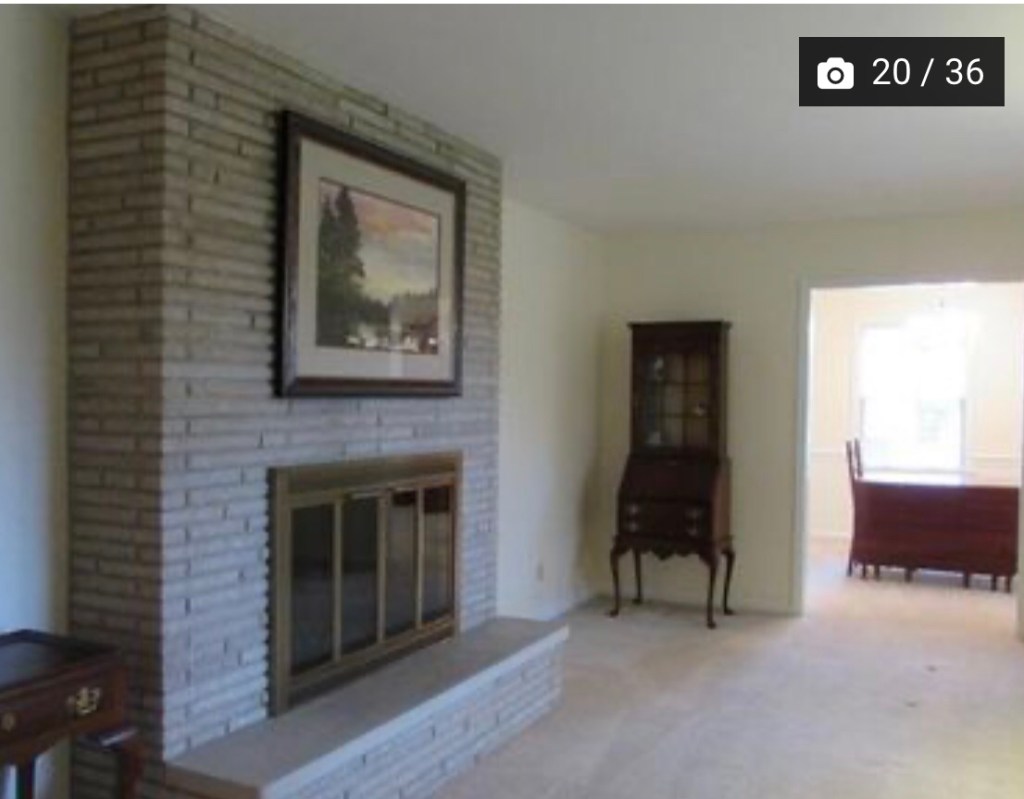
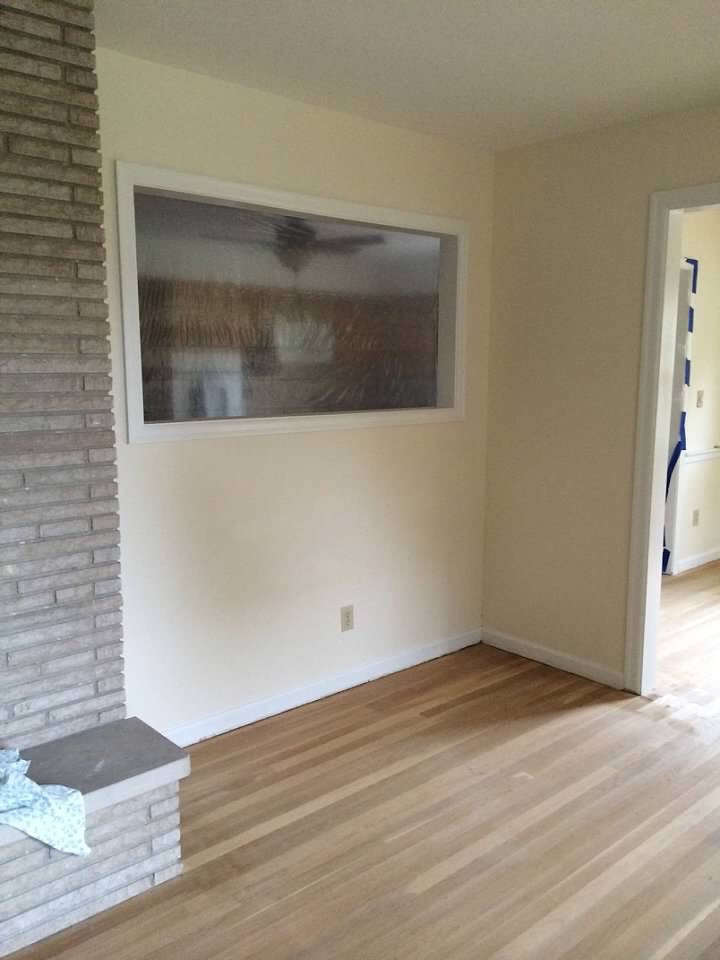
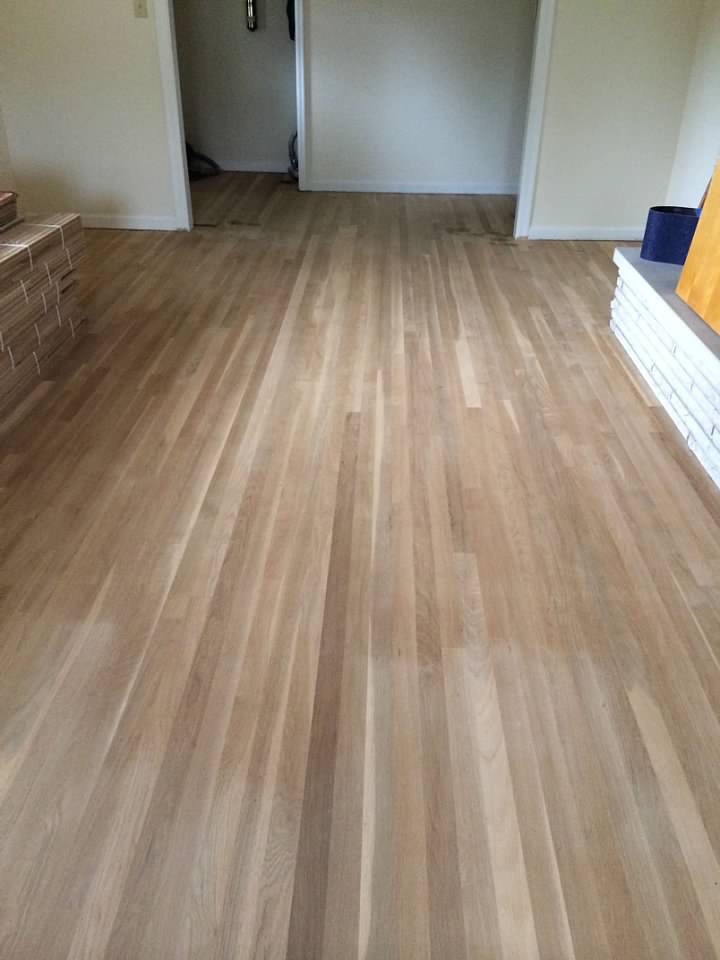
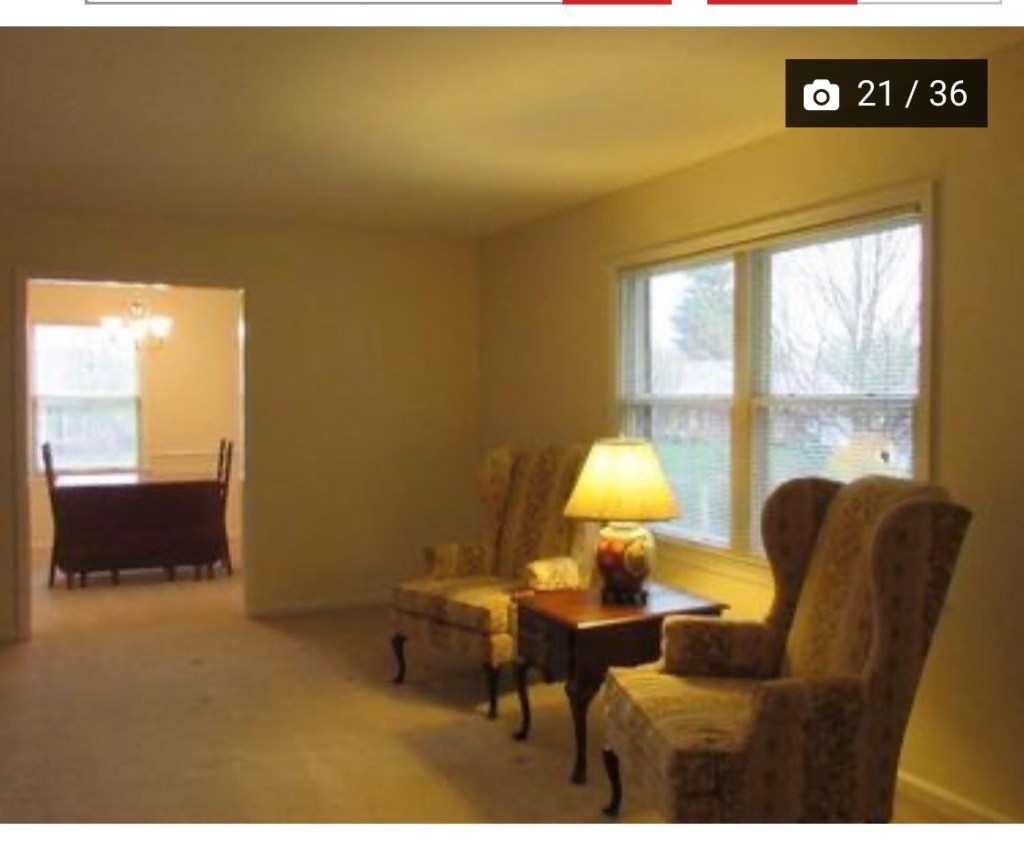
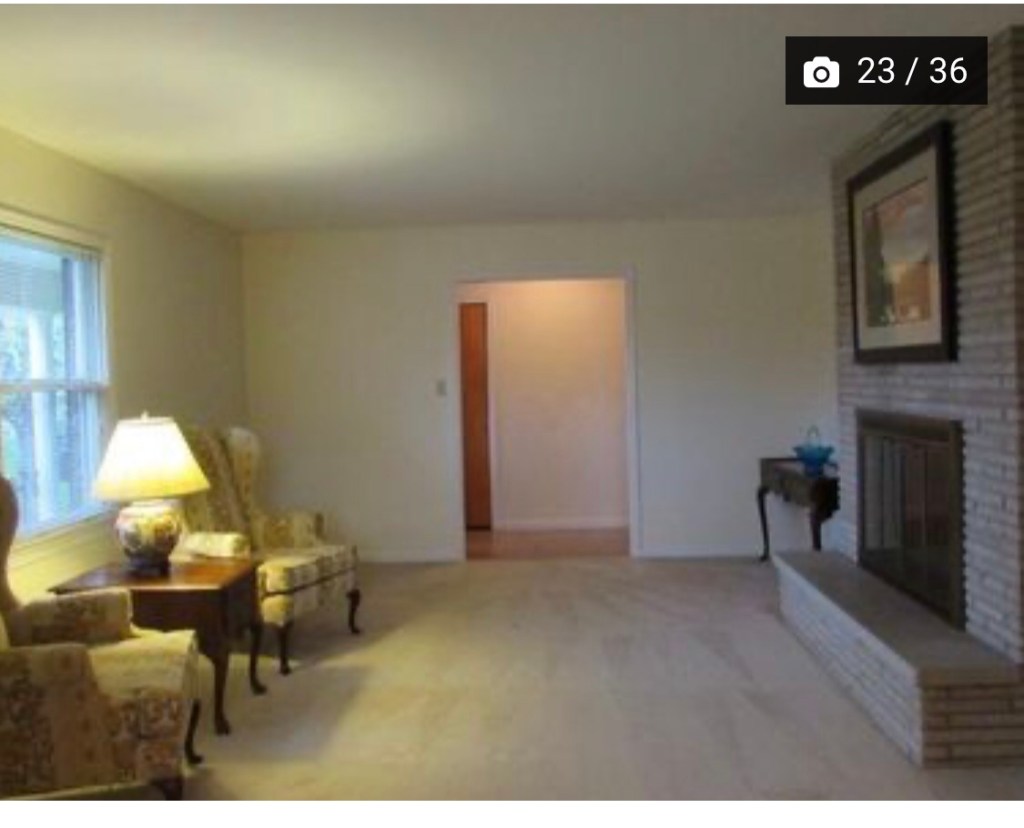
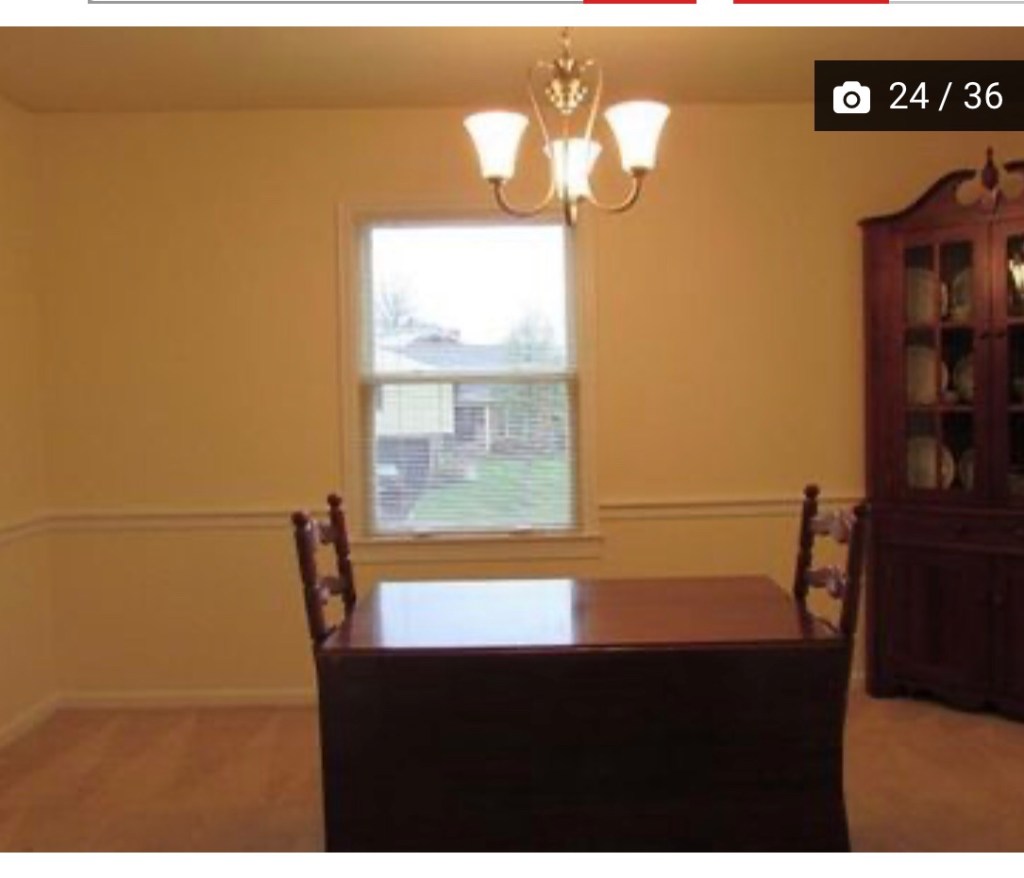
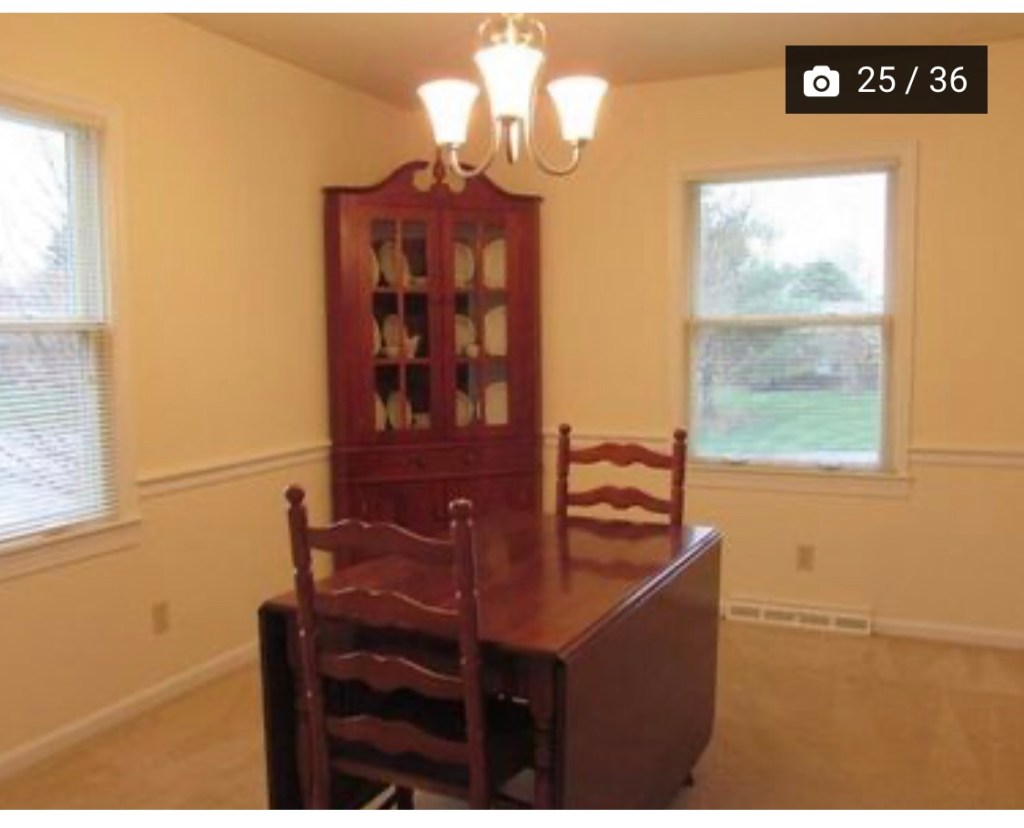
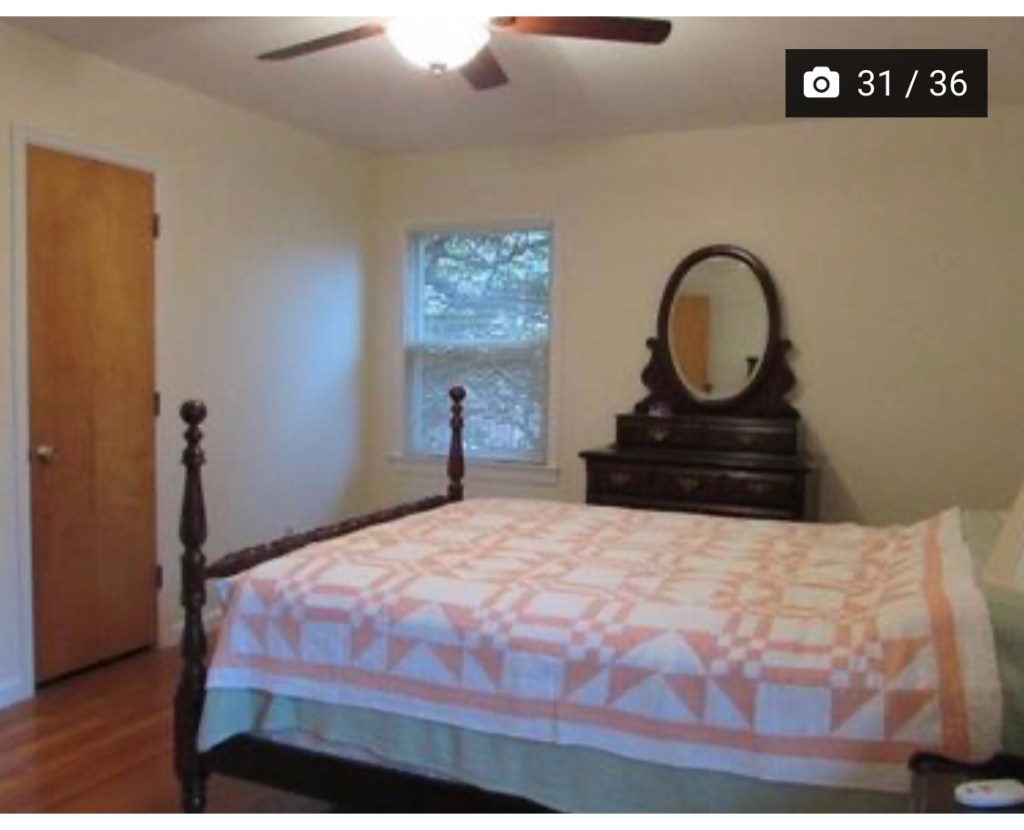
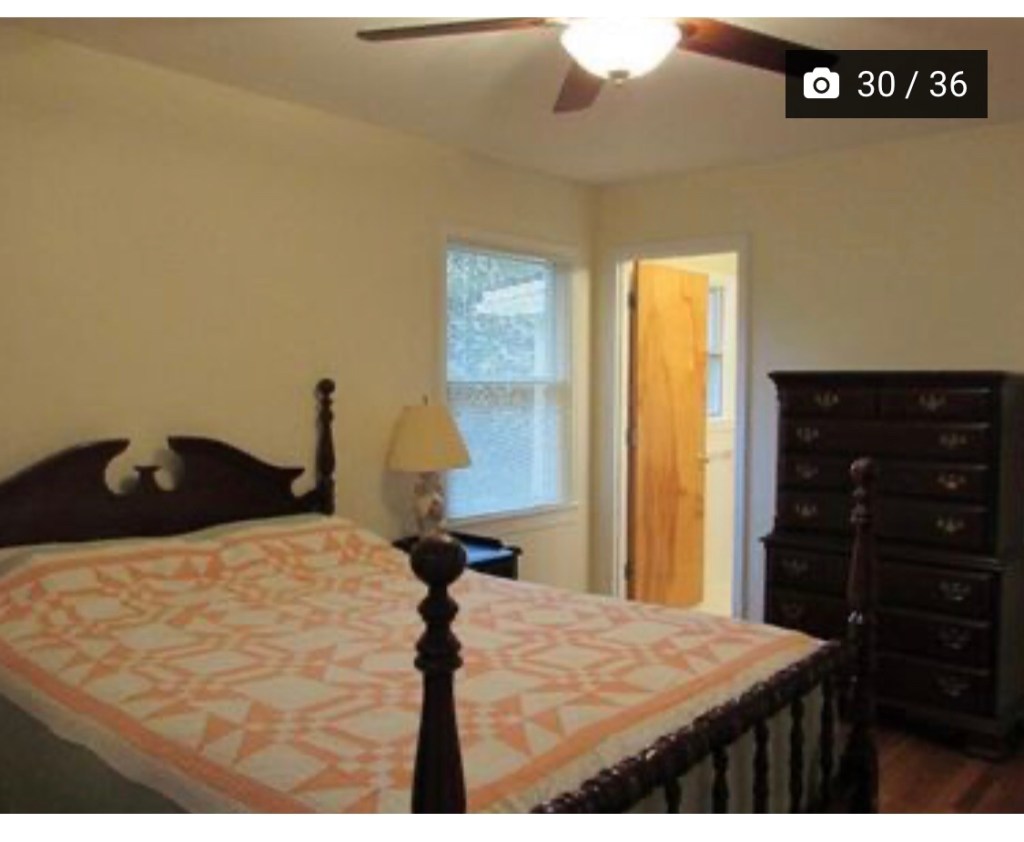
Before:

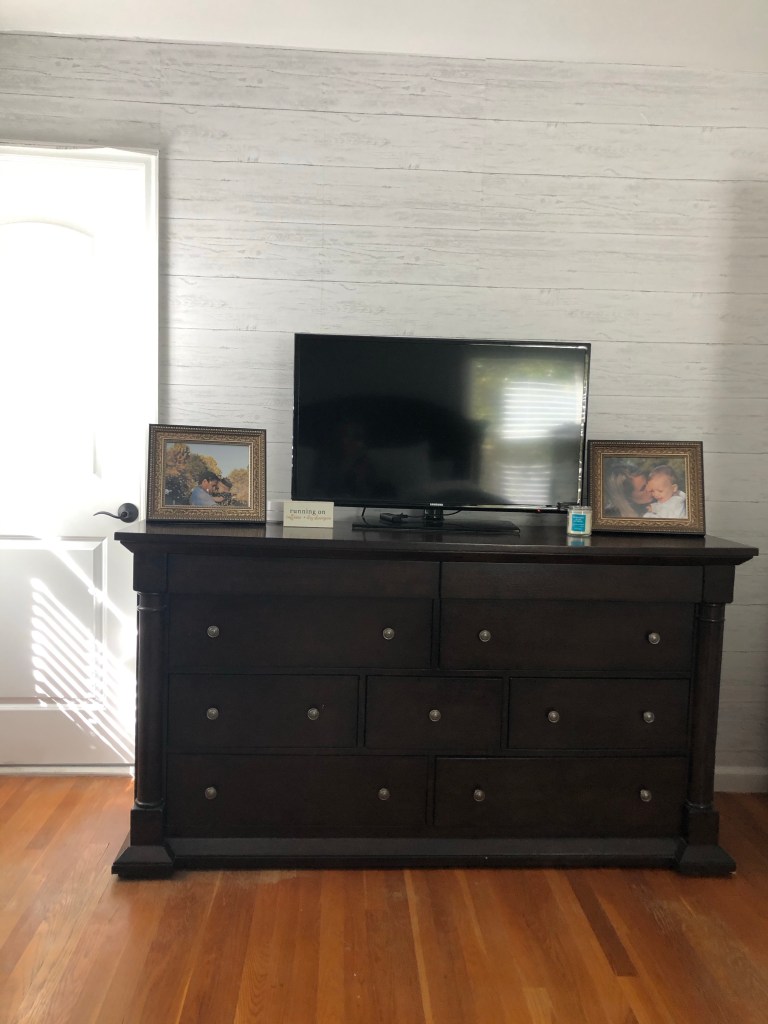
As I’ve been doing, these are just the listing photos from when we bought the home. But…I’m also sharing how our room looked before painting, new bedding, etc.

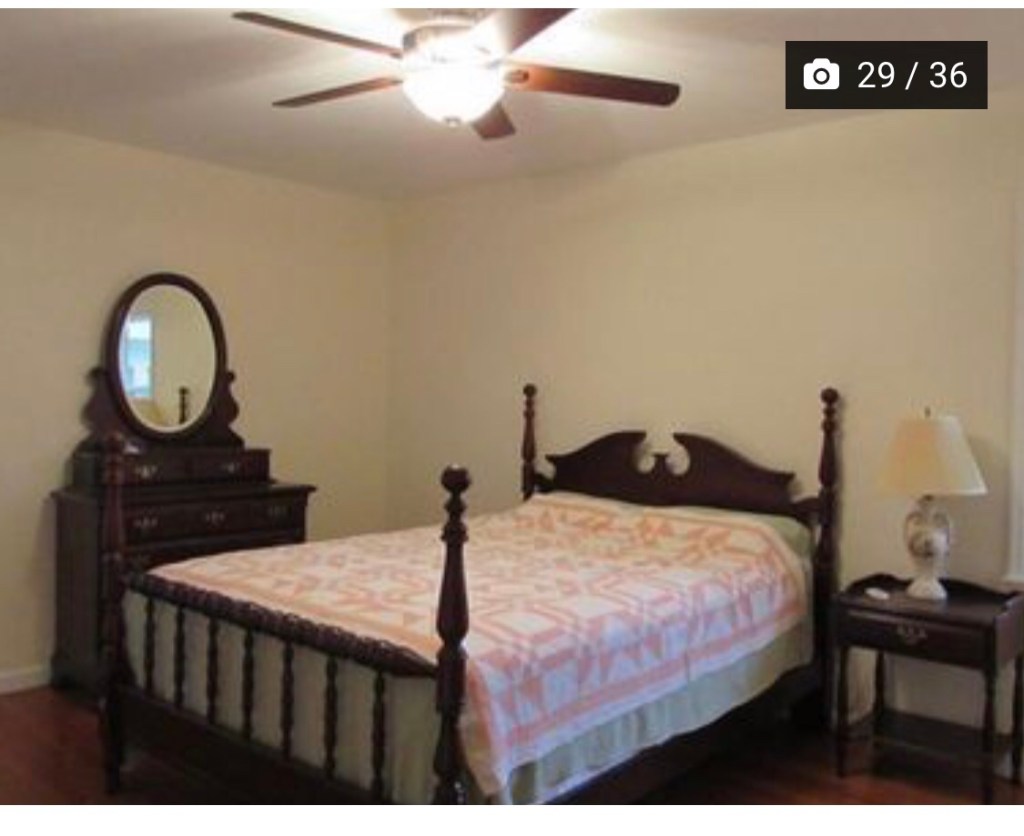
Of note, for the first five years, our bed was positioned with the headboard against the other wall…like how the previous owners had their bed. In December, we moved it how it currently is to make more space when you enter the bedroom, and to make it easier to watch tv!

Projects:

We completed the shiplap wallpaper project first.

We used Repose Gray in the bedroom since we knew we liked the color and didn’t have to worry about multiple trips to Lowes or Home Depot for paint samples during this time.

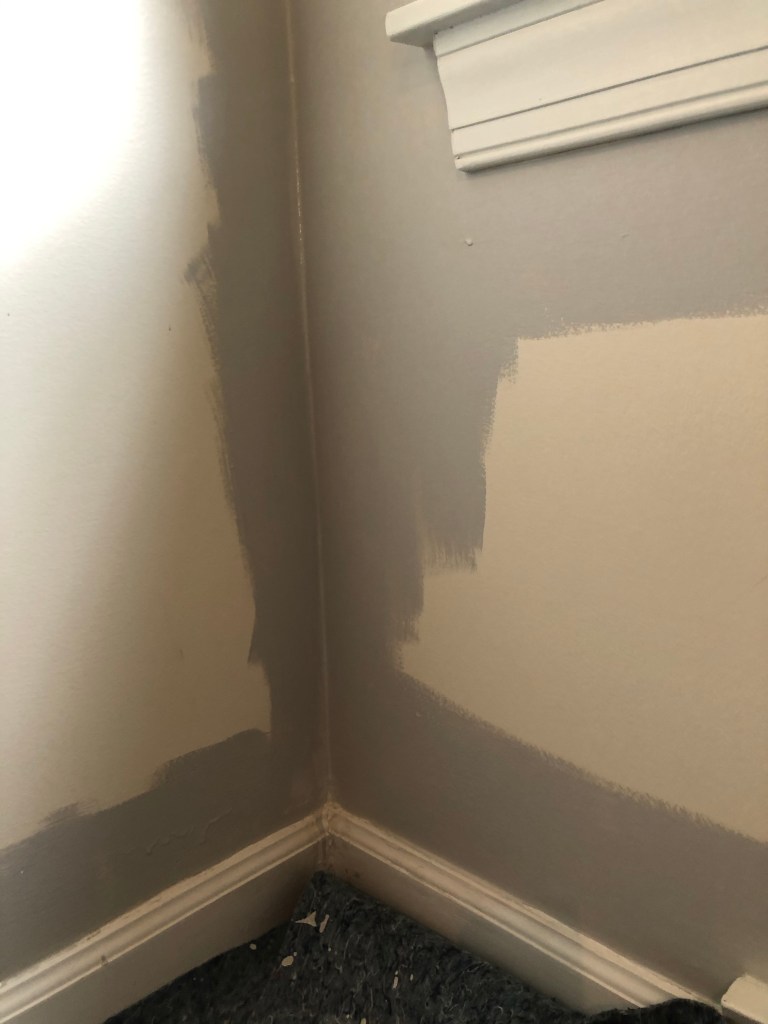
Travis did the edging while Hadley was a big help rolling the paint on the main parts of the wall.
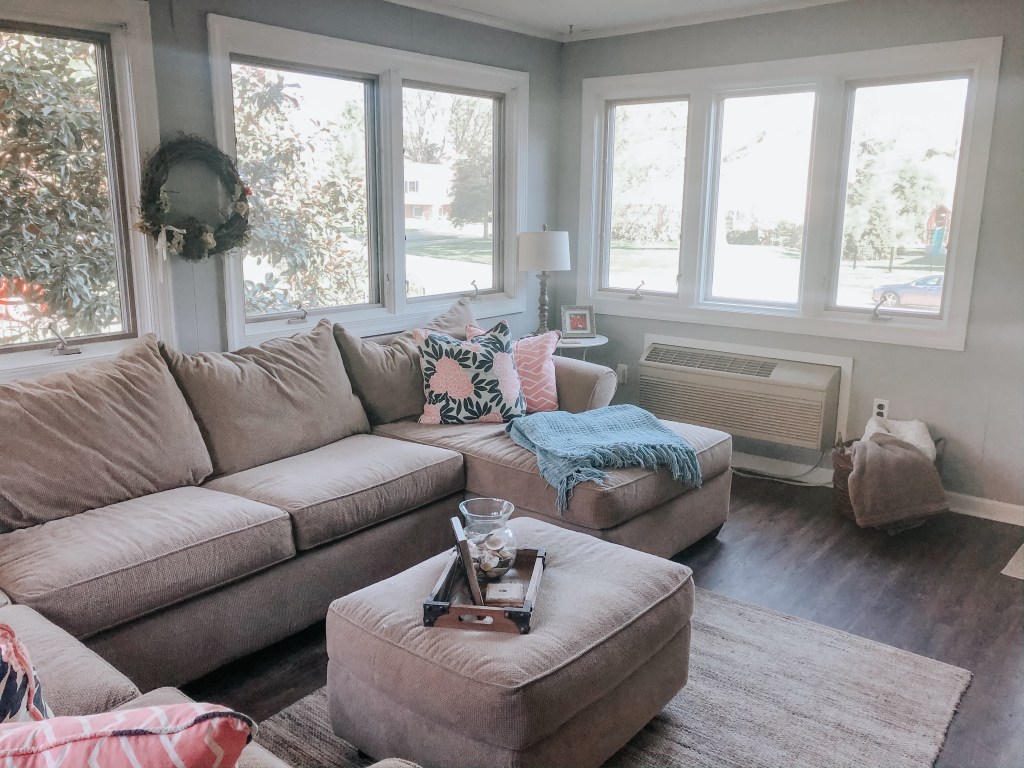
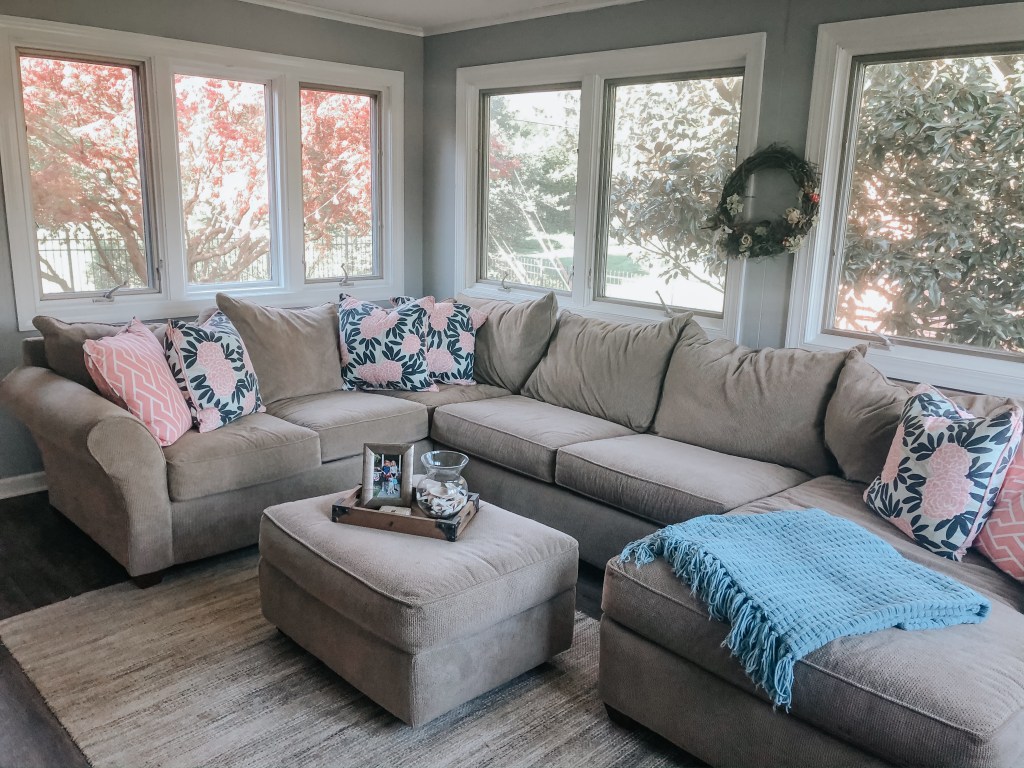
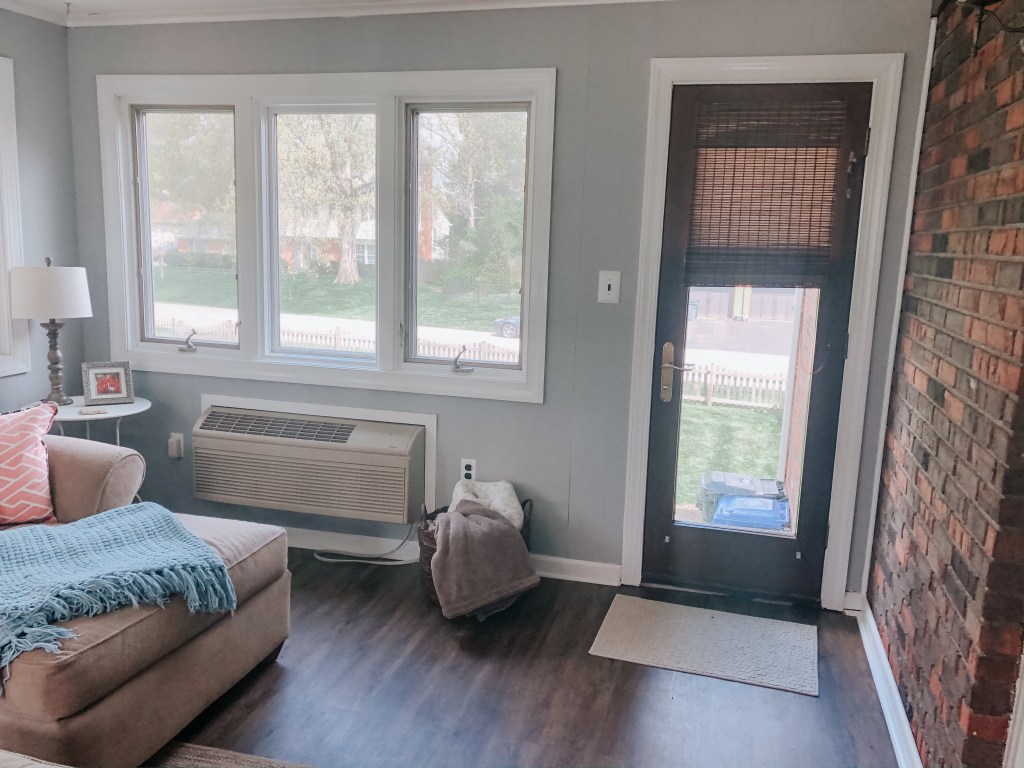
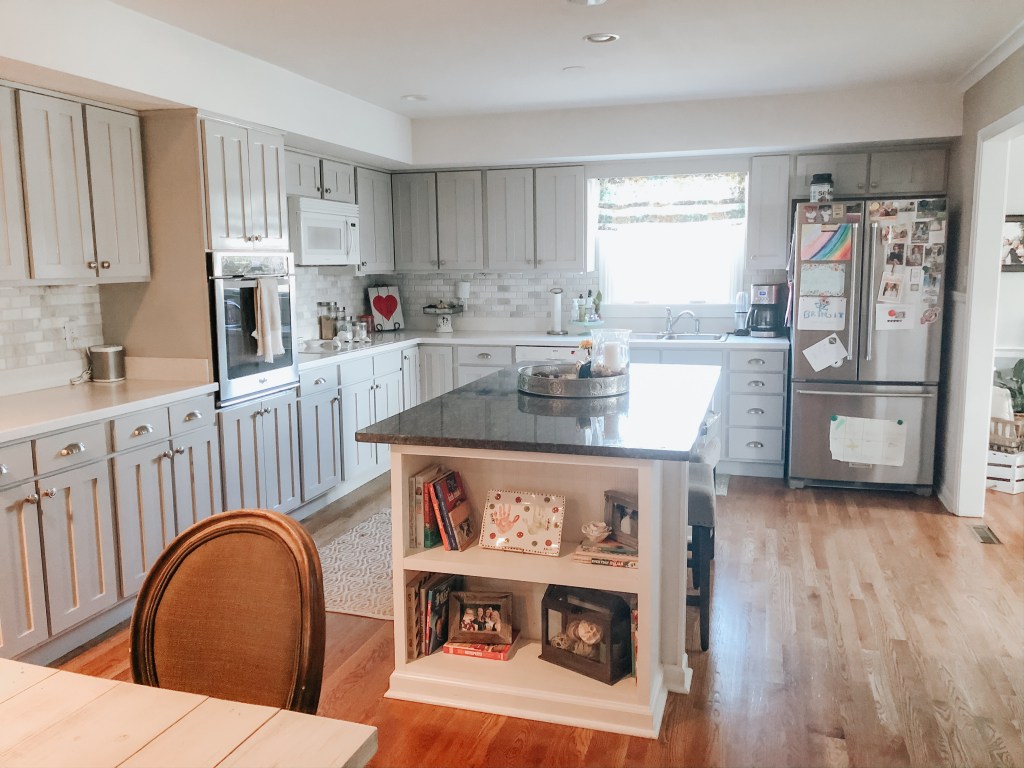
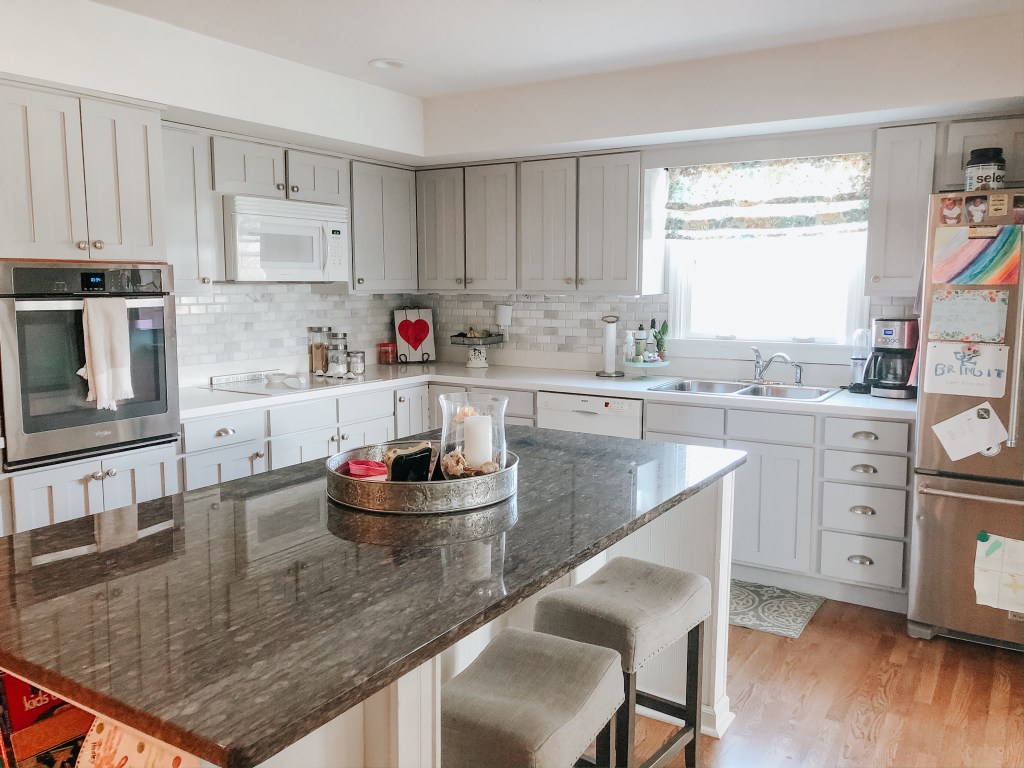
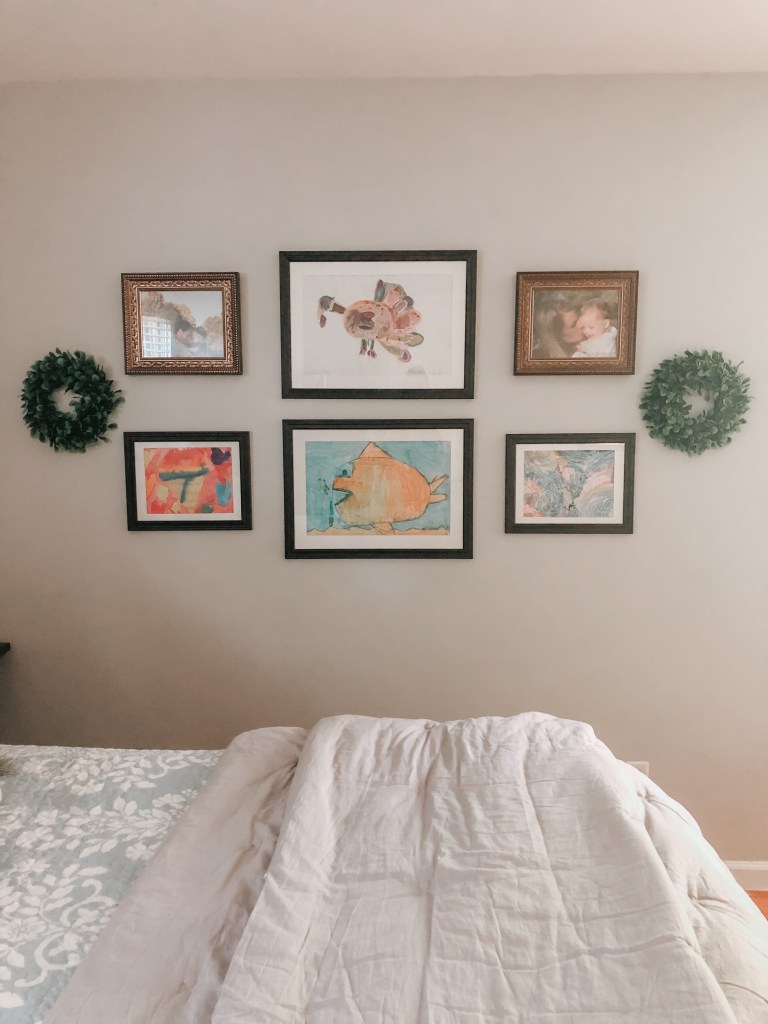
After:

After painting, we took some time to lay out the pictures. Any time I do a gallery wall, I trace the frames on paper, and tape the paper up on the walls to move around and get proper placement. The frames are from Michaels and then for a pop of color, I added the 11 inch boxwood wreaths that I ordered off Amazon.

New bedding + my weighted blanket πŸ˜‰

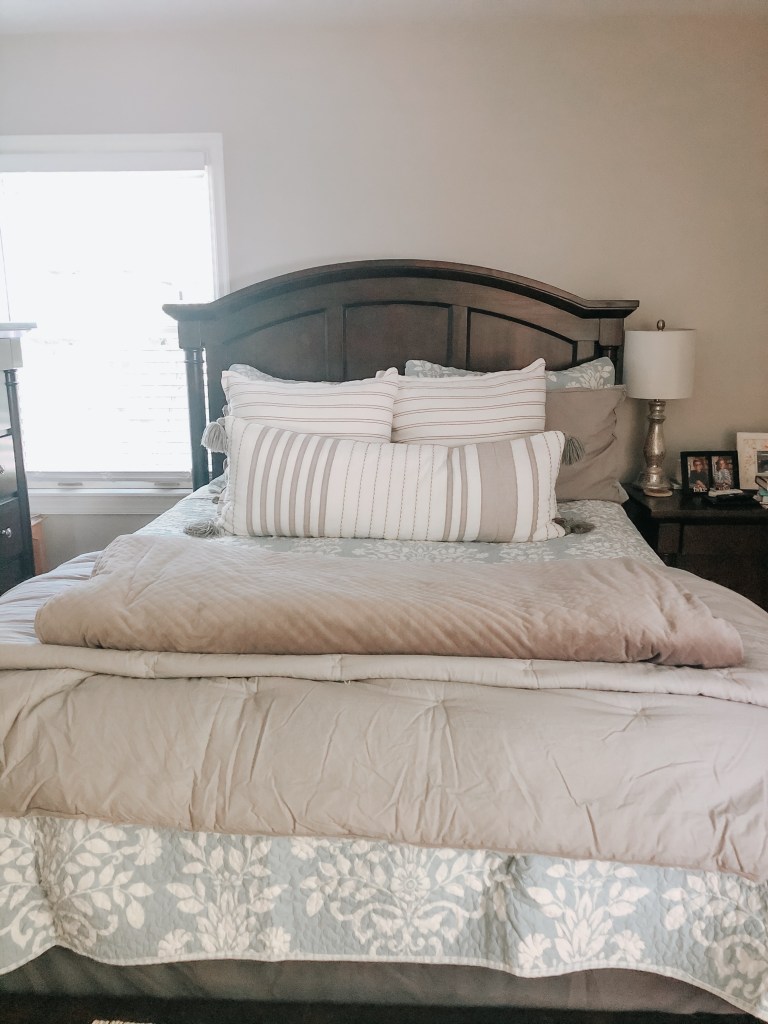
I searched Target online before going to one of the Targets in town. I didn’t want to be in Target too long, so I did my research beforehand. I saw Magnolia’s Hearth and Hand comforter and knew that’s what I wanted for our bedding.

I loved the raw edges on the shams, and I wanted a solid comforter that was heavy but not too heavy.

While at Target, I saw the matching quilt, and it’s what I originally bought to go with the comforter.

While Travis liked the original quilt, he did ask me if I thought we should have more color. (How dare him question my taste?) πŸ˜‚ and then after only a week or so, the kids + Homer started to snag the stitching on the quilt.

So–I remembered a quilt I had saved, seriously over a year ago, on Wayfair. They had it in stock and on sale, so I ordered it. It did add the pop of color we needed, and it’s a quilt that will hold up like the one we used to have on our bed.

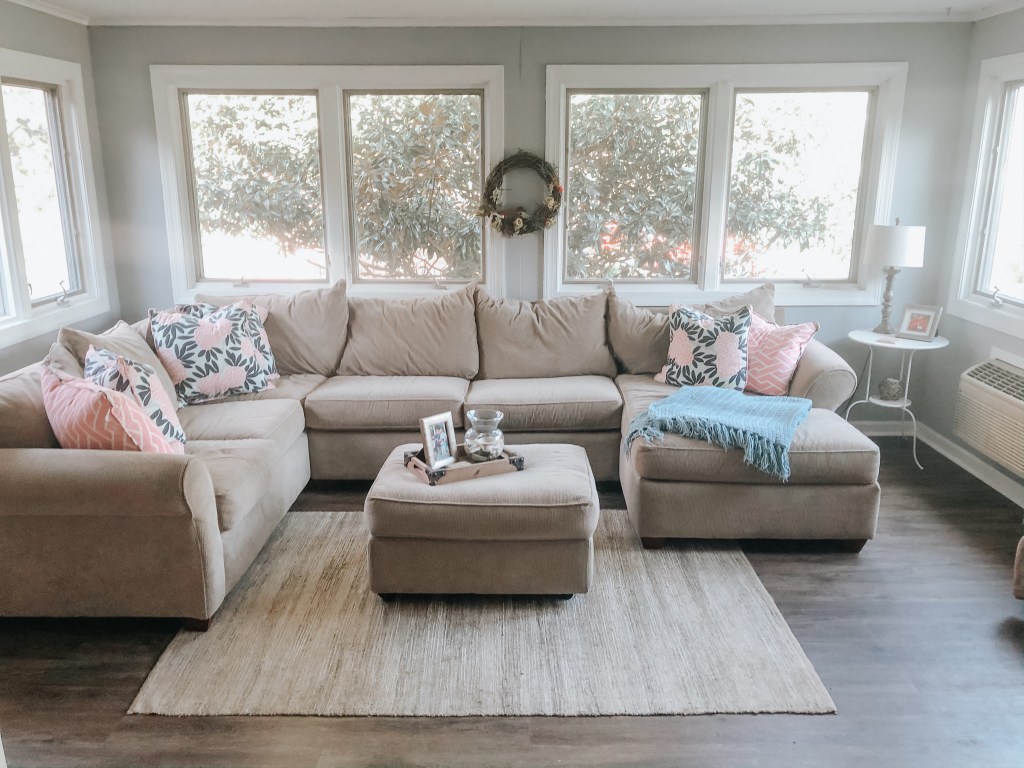
I get some grief for sticking with my gray/cream/teal color palette, but it makes it easy to rearrange, use things in other rooms, swap bedding, etc. The basement bedding comforter is gray and teal, and the original quilt works perfectly on the guest bed.

I love that the quilt is reversible.

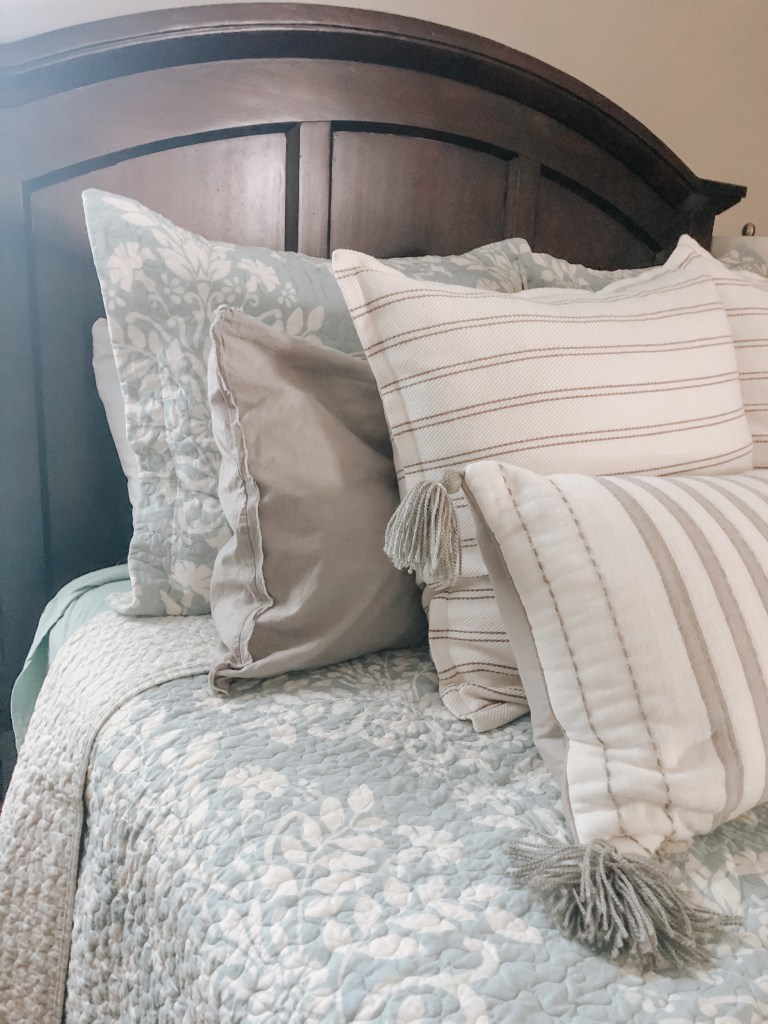
I was able to keep my striped Euro decorative pillows, but added in the Hearth and Hand lumbar pillow as well. Travis really understands my need for so many cozy pillows. #nohedoesnt

The kids’ artwork and some of my favorite family pics from when the kids were 10 months old.

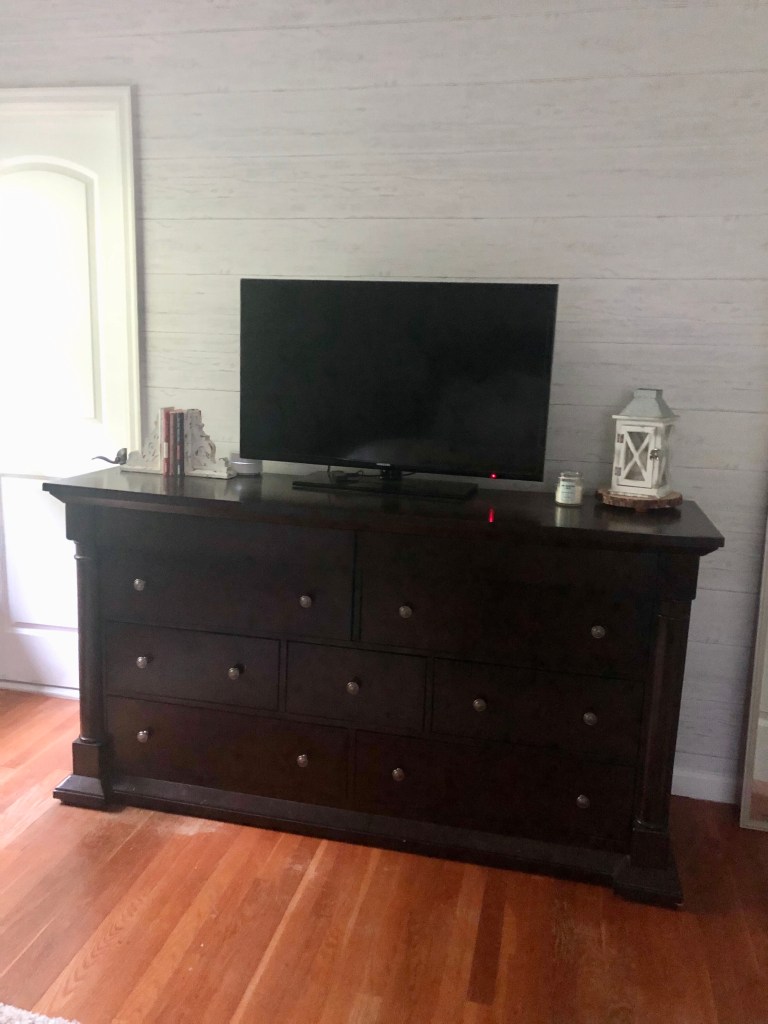
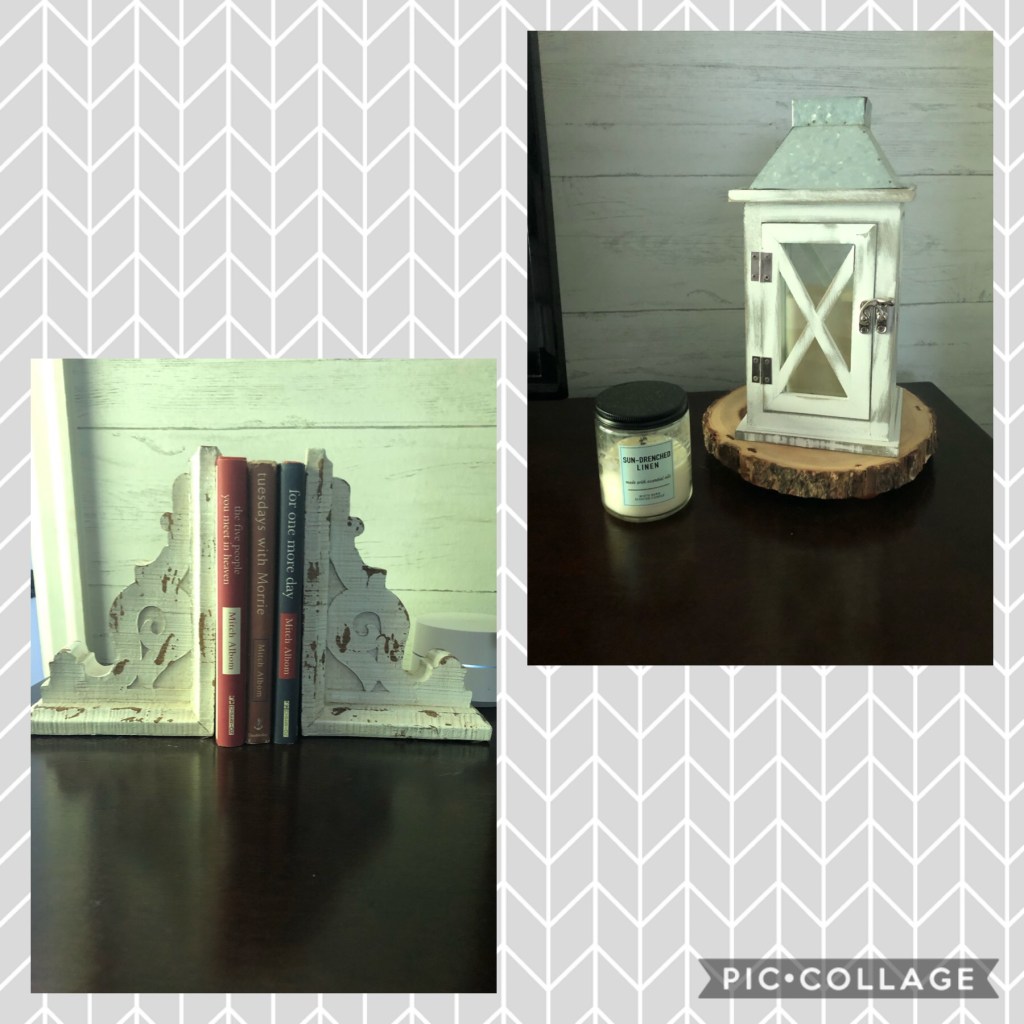
With the pictures gone from the dresser, I moved the wooden trivet that I had in the kitchen to the dresser along with a lantern that I had been using on our chest of drawers. Also, I moved some of my favorite books with Hobby Lobby corbels to the left side of the dresser. Those used to be on top of the cabinet in our office.

It felt good to shop my home for what I needed for the space.

So, that’s a look on our master bedroom refresh. Maybe one day it will be a whole renovation, but for now, this will do.

If we decide tomorrow to go for the addition, we’ve only spent about $250 updating this space. It’s amazing what fresh paint, some new bedding, and a focal wall will do to make a space feel more at home.

Here are the links to my previous house update posts. We’ve sure come a long way!

I hope you’ve had a great start to your week.

Take care,

Posted in Home Updates

Transformation Tuesday: The Sunroom

Hello! Well, I only have a few more rooms to share on my home renovation tour and while I’m afraid each reveal is less dramatic, it’s amazing what a fresh coat of paint and a few accessories can do for a room.

So far, I’ve shared about the basement bathroom, the living room/office, the kitchen, the basement, and the master bathroom. I’m linking them up again in case you are interested or missed a post.

I think you can see through my little home tour that I’m committed to a color palette (gray/beige/pops of teal) and a theme (β€œIf Joanna Gaines stopped by, she’d be proud of me but I don’t want to live in the middle of Texas!”) which honestly helps in the decision making process…

So on to the sunroom…

After only living here a few months, Travis painted the paneling in the the sunroom. After about a year, the parquet flooring was not holding up with two active kids and two dogs. The sunroom has two doors which is how we get to our backyard, so there’s lots of coming and going activity. When we were ready, our neighbor put down the waterproof flooring.

After the paint and flooring, the sunroom has kind of just remained as is. It’s an area that I wish we used more, but we don’t. Our old house had a screened in porch, and I know we would use this room more if it was a screened in porch. I miss the screened in porch! That being said, I realize most may prefer a sunroom…it’s added square footage with a heat/cooling unit, so it can be used mostly year round.

We’ve had this neutral sectional couch for almost ten years. It was in our basement in our previous house and didn’t fit quite right in our current basement due to the structural pole that I’m guessing holds up the house πŸ˜‰ So, the neutral sectional takes up most of the sunroom, but it’s still a good spot to take a nap, read a book, or the kids’ have used this space to work on school work recently.

This is a pic of the emptied out sunroom with the new flooring—I believe we did that in spring of 2016, and it’s held up so nicely.

That rug is long gone—because of kids and dogs πŸ˜‰

Before:

*Side note–I’m looking at this before (house listing) pic–and see blinds. I don’t remember those being there or taking them down. Travis may remember differently πŸ˜‰

After:

Before:

After:

Before:

After:

Before:

After:

We removed the heavy sliding glass doors and replaced them with French doors.

The doors are great to open on a nice day or if we have people over.

After I took all of these pics (above) right before Easter, the kids requested that we dye Easter eggs outside. Well, it was a bit windy, so I moved our coffee table that goes with our back porch furniture inside for them to do that activity. Well, the table combined with good weather and lots of at home time, has now provided a place for us to circle up and eat dinner or play a game. We’ve done that quite a few times in the past couple of weeks.

So, we’ve been using the space a bit more which makes me happy. If only I could get Homer to quit running in from the outside and taking a lap on the couch! πŸ˜‚

Our future plans…

I don’t know if it’s the quarantine talking or not, but we have started brainstorming how to furnish this area to provide a space that we could use more. I knew all along the sectional was limiting, but we’ve worked with what we have for more than five years. I guess step one will be to sell the sectional. Then, thanks to a few recommendations, I’ve had my eye on this set . We need to measure and check to see if everything will fit. We may just get a couch and smaller chairs. A few friends have a swing in their sunrooms/screened in porches, so we may look into one of those.

After we figure out the furniture, we hope to make room and move the tv stand I painted and tv. That has been a hold up as well. The only wall space (we’d thought about mounting a tv) we have is where the back doors open up…so inevitably, the door will bang into the tv. Also, the French doors take up most of that wall anyway.

I just know for us to hang out there, we have to be able to split up to sit, have a place to eat, play game, put our feet up, and then possibly watch tv too.

So, that’s how we updated the sunroom. Definitely one of our cheaper projects just costing us paint and reasonable priced flooring.

See you back here tomorrow for this month’s What’s Up Wednesday with Sheaffer and Shay.

Thanks for reading,

Posted in Home Updates

Transformation Tuesday: Master Bathroom

The home renovation posts continue with how we updated our Master Bathroom. This is the bathroom right off our bedroom (obviously!) It’s very small. Travis and I have lived in three houses together and never shared a bathroom until this one (as far as for getting ready purposes). Once we updated the basement bathroom, he did move down there as he moved his clothes to the closet down there as well. So that freed up some space and is a time saver in the mornings!

Anyway, as I’ve mentioned before, we have plans for an addition. If/when that happens, this would become Hayden’s bathroom. So, the updates are quite nice, but we did keep in mind that some day teenager Hayden may have this bathroom, so we didn’t totally bust the budget with super fancy upgrades.

Before:

The pics from the listing aren’t the best, but you can see there’s a small linen closet with a closed in shower, and then toilet and vanity are to the bottom right of the photo.

Also, random note—I don’t think I mentioned it in previous posts but all of our interior doors were very dated. We lived with them that way for quite some time because, as we learned, hanging and painting doors is tedious and somewhat expensive work. A couple of years ago, we finally had that project completed with new doors and handles. (Older doors that we had throughout our house pictured above…updated doors in the demo pic below)

As with most of our previous updates, Travis did the demo, we both made design decisions, and then our handyman neighbor completed the detailed work.

Here’s where the pieces of the puzzle started to get put back together…

We went with gray and white tile and gray vanity to keep the same color scheme throughout the house.

I had forgotten all the decisions that have to be made in these renovation projects until I looked at this floor pic…We even had to choose the grout color! (And at one point, we had to decide which way the tiles looked best–vertical or horizontal)

After:

As with most of the work we’ve had done, we purchased most everything (lights, tile, vanity, shower, etc.) from Lowes or Home Depot. I was trying to shake my gray colored trend and truly thought we’d get a white vanity, but saw this one and loved the counter top. Again, I love the mix of grays and whites.

This curved shower door was such a vast improvement. The bathroom looks so much bigger! Our neighbor, who did the work, pointed out that we could get the plastic insert with detailing to look like tile, and I’m glad we went that route. It elevates the look a bit.

I wish I could remember the wall color but I wanted a light color for the bathroom but also a cool toned color. All of our other walls in our house (besides the kids’ rooms) are Repose Gray or Pavilion Beige.

The two drawers of the vanity have been so helpful as I’m able to store so many more items that I used to have to put in bins and other shelves. The vanity (and the linen closet) provide all the storage I need as well as storage for towels, medicine, and other necessities for the family.

The whole project took a few weeks and we were very pleased with the outcome.

As far as major updates, we only have our hall bath left to complete. It’s the world’s smallest bathroom with a less than ideal set up as both kids use it to get ready in the morning! haha

Previous Home Renovation project posts πŸ™‚

Thanks so much for reading. See you back here tomorrow for a post about our Easter.

Take care,

Posted in Home Updates

Transformation Tuesday: Kitchen Update

Happy Tuesday! And…Happy St. Patrick’s Day. We “celebrated” on Sunday with corned beef, cabbage, and Irish Soda Bread. I may give the kids Lucky Charms for breakfast and call it a day πŸ˜‰

This is my third Transformation Tuesday post in regards to the updates we’ve done on our house. The first post was about the basement bathroom renovation and then my second post was about our living room/office area.

As I’ve stated previously, if HGTV and Pinterest didn’t exist, I never would have had the “vision” of what our home could be, and I never would have given it at chance.

In my last post, I mentioned how we turned the formal living room into our main living space. Then, we used the dining room for a bit before turning it into an office area. Those rooms connect to the kitchen area.

The previous owners used part of the kitchen space for their kitchen and the other half of the space for their informal living area.

After living in the house for only a few days, we had the room doorways widened. Then, we tackled the floors. Again, I mentioned before that under the carpet in the formal living and dining space, there were unfinished floors. So, we ripped up the carpet in the kitchen and informal living room to find sub floors. We had wood laid, and then stained everything the same stain color.

Before:

The kitchen is big and the cabinets are great quality. Also, the counter tops were a light colored Corian material, and we were pleased with them. What were we not so pleased with? Uh…the carpet in the kitchen! To be fair, the carpet was immaculate. An older couple had lived in the house before us…but carpet with four-year-old twins was not a good combo upon moving in! I also didn’t love the fact there was a ceiling fan so close to where I’d be cooking. We actually moved the ceiling fan to our living room! Win win.

After:

The island with built in shelves was always a dream of mine. I loved picking out the granite (sticking with my color scheme of gray!), and the kids eat breakfast at the island every morning. We don’t have a pantry, but we do have tons of cabinet space, so we are lucky in that regard. The oven was the first appliance we swapped out…but only after it went kaput after living here about a year. Then, we needed more room in the fridge, so we purchased that next after about two years. The dishwasher and microwave are high quality, so we’ve left them as is for now, but will probably get new ones at some point. I also dream of a new sink and gas stove. I’m hoping to cross those things off the list sometime in the near future.

We also added recessed lighting throughout the kitchen. The only light that was in that entire space was the light from the ceiling fan at each end of the room and some under cabinet lighting.

Before:

After:

Travis painted the paneling white as a quick fix. Then, he used Pavilion Beige on the walls which is what we painted our walls in our former house before putting it up for sale. Also, there’s the cut out that looks into the living room.

Right when the kids started kindergarten, I put up the fishing line and clothes pins for them to hang their favorite school work. It’s so weird to think there’s only about one more year of elementary work to hang up on my Pinterest project!

The view from the kitchen into the office space. I love the light fixture in the office. There was a chandelier there when we used that space as a dining room.

Cabinets and Back splash Updates:

I like to make things as pretty as possible as soon as possible. One thing I was very proud of is that we lived in the house awhile before making some decisions. We’d lived in our house about a year before we decided to paint the cabinets. I debated between a gray or white for the cabinets. At the time, the back splash was an off white tile. While I knew we’d change it at some point, I just didn’t know when. Also, with the white paneling, I was afraid the whites wouldn’t match or it would be too much white. So, we went with a gray color. After much debate, (why are grays so difficult?!), we chose Sherwin Williams Light French Gray.

This picture of before and after popped up on my Facebook memories recently. What perfect timing! You can see the colors we were thinking about in the cabinets on the left.

Two men painted the cabinets in a few days, so it was a pretty painless process (after we got the paint color chosen! πŸ˜‰ Then, of course, we needed new drawer pulls and knobs. (Knobs aren’t on yet in the “after” photo.)

I think about six months after we got the cabinets painted, we had the back splash updated. Our neighbor installed it for us and was tedious with choosing tiles that would be a good combo of colors. Not too many white tiles vs. too many gray tiles! Balance.

Before

Again, the owners before us, used this space as their informal living room. It’s where we put our farmhouse table when we had it built.

After:

We love the farmhouse table and bench that a local craftsman built. I bought the chairs on Joss & Main.

There was a heavy sliding glass door that leads out to the sun room. Another one of the first changes we made was getting French doors which made a pretty dramatic difference for this area of the house

Fireplace Before:

The fire place as another part of the house we “lived with” for awhile. We weren’t sure if we should paint it or not. After living here about a year, Travis painted it as we thought it would lighten up the kitchen even more. We’d heard that painting brick can be difficult and take multiple coats, but he didn’t have any issues and had the project completed quickly.

Fireplace After:

We get a lot of great natural light coming in from the sun room, and adding the gray paint made this area even lighter.

Still the kitchen, but another angle. The previous owners had a built in shelf for their television at this end of the kitchen.

Also, we had a gallery wall in the living room of our previous home, so I added some of my favorite pictures to this wall within a few months of us moving in.

I like the mix of modern furniture with antiques in this space. The cabinet on the left is a family heirloom that my dad gave to me. We added it to our kitchen about a year ago after I visited KC and then rented a small U-Haul to bring it back.

We purchased the accent cabinet from Ashley furniture a couple of years ago when there was a sale going on. I’d never had a place to showcase the China we got as a wedding gift (and never use ;). I also use that space to safely house some of the kids’ pottery projects throughout the years.

I really do love that we are able to utilize all the space in our house. In our old house, even now with two kids, I know we still would have wasted space. Of course, sometimes I wish we had bigger bedrooms and bigger closets, but the main living areas have been pretty perfect for us. It’s been fun scratch my creative itch and make decisions a long the way for our home.

I continue to be thankful that Travis found this house and pestered me until we went to look at it πŸ˜‰ Plus, if you haven’t noticed, Travis likes to tackle projects…especially those that have to do with painting!

I hope you are having a great week. Thanks for reading, y’all.

Posted in Home Updates

Transformation Tuesday: Living Room/Dining Room Update

A couple of weeks ago, I shared the pictures from when we renovated our basement bathroom last year. So, to continue my Home Updates series, I thought I’d share our living room / formal dining room area.

To be clear, I made up the series because I like to look at other people’s homes and would like to have all our before/after pics in one place πŸ˜ƒ…and I thought others may enjoy HGTV like updates as much as I do!

As I mentioned in my first Home Update post, I didn’t even want to look at our current home, but Travis dragged me there knowing I’d love the location, the schools, the yard….and the possibilities of what we could do with the house…to turn it into our home.

We moved in on a Friday, and Monday when I returned home from school, the room entrances had been widened. Only a couple weeks later, we had someone tackle the floors. They removed the carpet in the living/dining area to focus on the unfinished hardwood floors. (We had pulled back a piece of carpet one of the times we viewed the house, so we knew unfinished hardwood floors existed.) I will save the kitchen area for another post, but there was carpet in the entire kitchen/living space in that part of the house. There was only sub floor in the kitchen, so they laid unfinished hardwood floors in there, we chose a stain, slept in the basement for a week, and were pleased with such a big task being checked off our list after only living there a few weeks!

It’s funny to me how my style has changed. Our first home was decorated based on what we had. Our second house was a two story traditional, and I felt like I had to decorate in a more traditional sense with darker wood furniture and a darker color palette. With this house, I focused on lighter colors like cream and light gray and kind of went from there. I’d say my style now is β€œIf Joanna Gaines stopped by, she’d be proud of me but I don’t want to live in the middle of Texas!” πŸ˜‚

Nothing makes me realize how far we’ve come with our house (because I feel like it’s a never ending project) like before and after pics side by side. πŸ™‚ I’m glad I saved the online listing pics!

Before:

As you enter the front door, this is the (formal) living room on the right. We turned it into our main living room.

During:

We couldn’t commit to knocking down the entire wall to the kitchen. It was such a big decision and it would have been more expensive, so we went with this cut out (knowing we could always take the full wall down later). We had shelves built under the cut out and that’s where the tv now sits. We like feeling connected to what’s going on in the kitchen while being in the living room.

The cut out and then we added shelves for the TV. These were the floors that were under the carpet!

The floors that were under the carpet! (Before we chose a stain)

The wood piled to the left is what we laid in the kitchen area.

After:

Note: my house looks bright, airy and most importantly, clean! But all I can see in the pic is that the rug is bunched up. 😬 Fun fact: Homer likes to run laps around the coffee table and mess up my rug!

Before:

“Formal” living room leading to dining room
View from dining room into the living room and front entry hallway

After:

After we did the major renovations with the walls and floors, we (Travis) painted the living room, dining room, hallway, kitchen, and sun room. We chose a light gray color for the living room, sun room, and above the chair rail of the dining room. Then, we did a darker gray below the chair rail in the dining room. We Travis painted the kitchen “Pavilion Beige” by Sherwin Williams which is a nice neutral color. We had used it in our previous home, so we went with what we knew!

Besides the built ins, we added plantation shutters (dream come true for me!) in the living and dining room.

Before:

This is the formal dining room off of the living room, and it also leads into the kitchen.

After:

So, when we first moved in, we did use this space as a formal dining room. We had a hand me down dining table from my parents that we used in our previous home.

We ate in the kitchen 99% of the time because we had room for a table in there as well. After a couple of years, we had a farm house table built for the kitchen and rearranged the layout in there. Once the farm house table, that seats 8, was built, we turned the formal dining room into an office area that we desperately needed. This is a perfect spot for Travis to do work, for me to work on the blog, and for us to keep an eye on the kids when they are using the computer.

Thanks for following along on another Transformation Tuesday πŸ™‚ I hope you are having a great week!

Jen

Posted in Home Updates

Transformation Tuesday: Basement Bathroom Remodel

Happy Tuesday! I’m including a bonus blog post this week because the Facebook memory popped up on my feed from February 2019 when we finished our basement bathroom. I LOVE seeing the inside of homes and how people renovate, decorate, etc. And…I love a good before and after reveal of a space. I heart HGTV!

A little history on our house…When we were looking for a home five years ago, we had our eye on our current neighborhood. I loved the proximity to places, the schools were great, and an older home meant a bigger yard with mature trees. That being said, our neighborhood is filled with homes that new owners most likely renovate.

Truth: I didn’t even want to look at our current home. Travis dragged me here. We even casually looked at it three times before finally deciding to place an offer. As soon as we looked at the house the first time, Travis knew this was the home for us. I still needed convincing. Right around the time I felt ok saying this could be our home, our realtor called saying someone else was making an offer. I was shocked at the timing because the house had been for sale for a few months. You know what gets me motivated to make a decision? Competition! I wanted to outbid these people. haha. Really though, we couldn’t beat the bones of the home, the location, yard, schools, etc. Thankfully, it all worked out. We later heard that we bid less than the other couple, but we didn’t ask them to fix/update anything more than they already had and the other bidders wanted them to do so.

So, I’m lucky it all worked out since I was moving at a slow pace to make a decision. I have always joked that I wouldn’t have moved into this house if HGTV and Pinterest didn’t exist!

The basement had a small bathroom with a sink and a toilet. Old tile and dim lights didn’t make it an appealing space. We have a guest bed area in the basement as we do have visitors somewhat frequently, so it did make sense to finish this space, so our guests wouldn’t have to come upstairs to shower and get ready.

A leaky toilet is what made us finally decide to do the renovation of the bathroom. We realized the toilet had leaked which messed up the tile and even the laminate floors we had put down in the basement about a year after we moved in.

Travis was so excited to do the demo that I didn’t get the true “before” pics, but I can promise you that the space wasn’t much to look at. We are blessed to have a handy neighbor who has helped up lay floors in the sunroom, change our kitchen back splash, add shelves to the unfinished part of our basement, update the master bath and then this bath as well. Travis likes to work and help when he can on these projects…so, like I said, he did the demo on the bathroom. Travis and I made made the design decisions and our neighbor did so much of the work with some help from Travis. Overall, I think the project took about six weeks as our neighbor just worked on the space when he had the time.

Travis even helped jack hammer the floor!
I love the tile we picked out and I appreciate that our neighbor thought to ask us if we wanted little details like a tiled insert in the shower.
I was so excited to use subway tile in this space.
We had a hard time picking out floor tile. I was concerned the bigger tiles would be too big in such a small space, but we loved the design and color of this tile. It turned out great. Also, the space heater was another touch we wouldn’t have thought of on our own.

The finished product:

Another reason I wish I started the blog sooner…I could have posted this is real time and actually shared links, etc as well…but we did get most everything at Lowe’s or Home Depot.

This space is so nice and welcoming for our guests. Our master bath is so small, that I use it and Travis uses this basement bathroom now.

Our house, even after five years of living here, feels like a forever work in progress. I actually do think it’s a blessing we didn’t buy the house and just gut it…It’s been nice to live in our space and make decisions as we’ve wanted to. We even have plans for an addition (to expand the master bedroom and also have a bigger master bath and closet) but the time, money, and amount of decisions we’d have to make continue to overwhelm me. I’m not sure when we will make that a priority…That being said, my kids share the world’s smallest bathroom and they usually fight every morning…I’m starting to find the motivation to make some decisions. πŸ˜‰

I hope you enjoyed a little peek into this update. I always love seeing people’s homes…especially updates and renovations. I may include a few more posts in the future to show the kitchen/living room space as well as the changes we made in the basement and the master bathroom.

I hope you are having a great week.

Take care,

Jen

Instagram: @showmeandsweettea

Facebook Page: Show Me and Sweet Tea