
While I’m not super crafty, I like a quick project with major impact. Thanks to Pinterest, I have found myself pinning different ideas that involve chalk paint. I had always heard that chalk paint was a pretty easy product to use…and what had previously held me back from painting was thinking of all the prep work before even getting to paint (like priming the piece beforehand). A couple of summers ago, I was at my friend Krista’s house, and she had just used chalk paint on a buffet for her porch. It looked amazing. She told me about the Valspar paint she used from Lowes. After a visit to Lowes to pick up the pamphlet, I decided to take the plunge and paint the console table in our entry way hall. The table isn’t an heirloom and was a cheap purchase years ago. I figured if I messed it up, it wouldn’t be the end of the world!
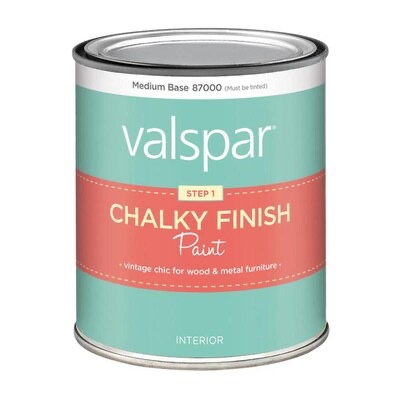
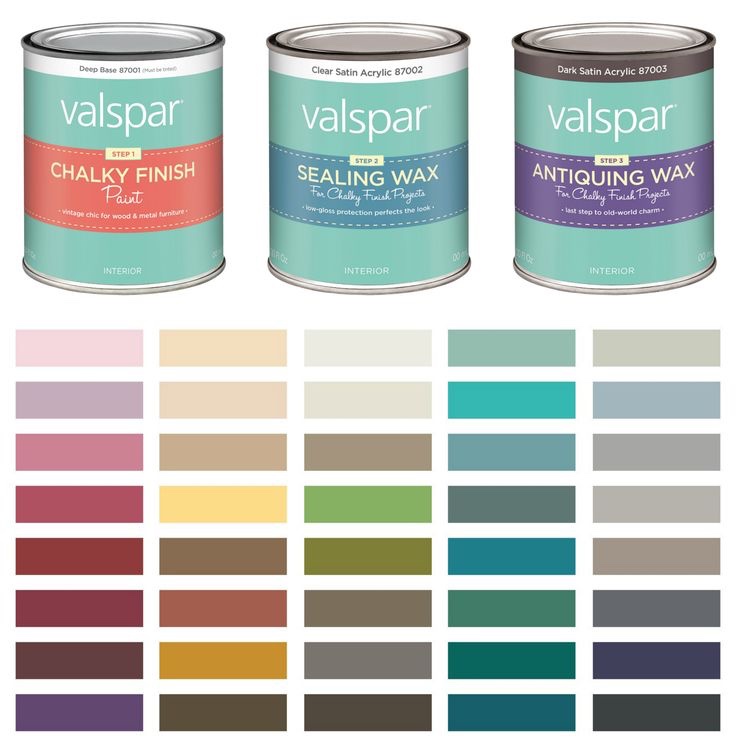
This is the Valspar Chalky Finish Paint. There are many color options. What you do is wipe down the piece you want to paint, paint 2-3 coats of the paint (and each coat dries very quickly) and then choose a finish. I’ve used the Antiquing Wax and Limewash Glaze for finishes. Then, you can paint a coat of their Sealing Wax to finish off the piece.
FYI for all projects, I used a roller for the paint and a brush for the wax or glaze.
Console Table
This is a random picture of the entry way console table.

I choose the Theater Wrap paint color with the Antiquing Wax for the finish. This was my first project…and I will say that after completing my other two projects with the Limewash Glaze, I found it to be much easier than the Antiquing Wax. That being said, practice makes perfect and I got the hang of using the wax as time went on.
For the console table, I used the roller to paint the Theater Wrap color and did two coats. After it dried, I started with the top of the table and the Antiquing Wax. My friend had told me how she painted the wax on with a brush and then wiped it with a towel or old t-shirt. After a couple of tries, I panicked and called her! She came over and showed me what to do. The reason I panicked was because the wax goes on dark…and it’s easy to see the brush lines where you leave off…I was worried everything wouldn’t blend. Anyway, if you want the color to be darker, you leave the wax on a little longer. Again, though, I brushed it on and almost immediately wiped it off using a towel. I rubbed in extra wax on the corners to make those areas darker. As you can see from the picture below, the top of the table is darker which is what I wanted. Also, there were times I put some of the wax straight on the towel and rubbed on certain areas. Once I got the hang of brush on the wax, wipe off the wax, and rub in the wax, it wasn’t that difficult.
This project took a couple of days off and on. I did the chalk paint one day and the wax finish another day. Also, I did not use the sealing wax to finish everything off. A couple years later, the piece still looks the same….and gets dusted every other week or so with no issue 😉

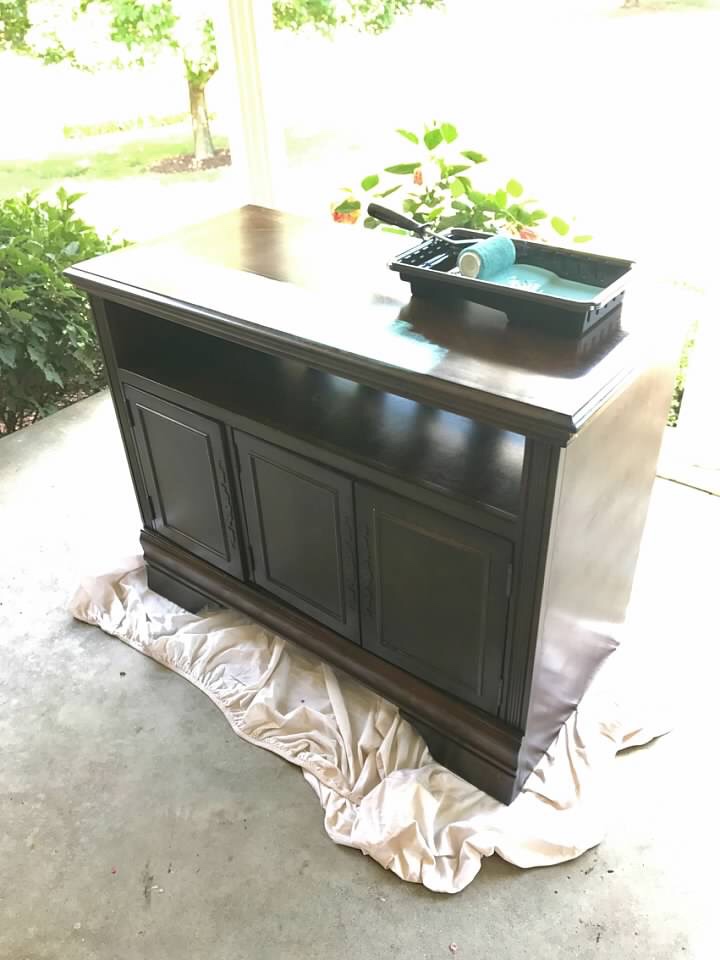
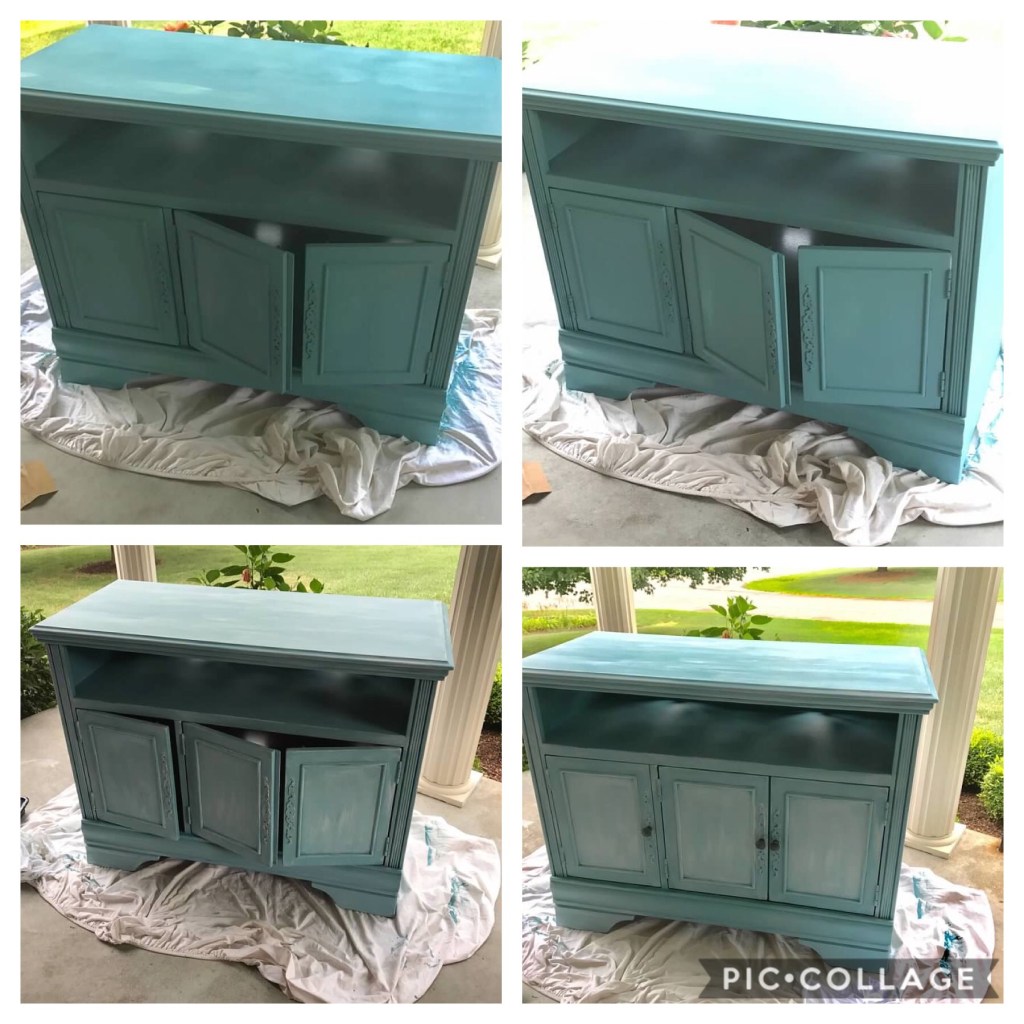
TV Stand
The TV stand was a QUICK project. I used a roller to paint on the Beaded Reticule color. I did two coats of the paint. Then I used a paintbrush to apply the Limewash Glaze which was SO EASY to apply. Again, I didn’t use a finishing wax to seal the entire piece because, again, the stand doesn’t get used besides a tv sitting on top of it! I completed this entire project in a couple of hours.

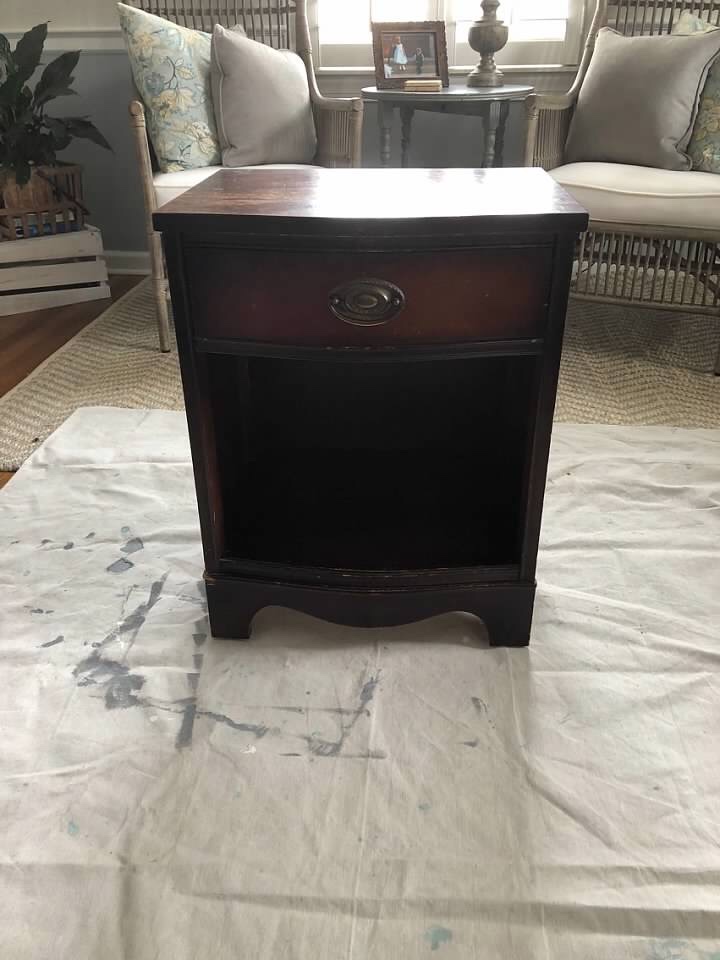
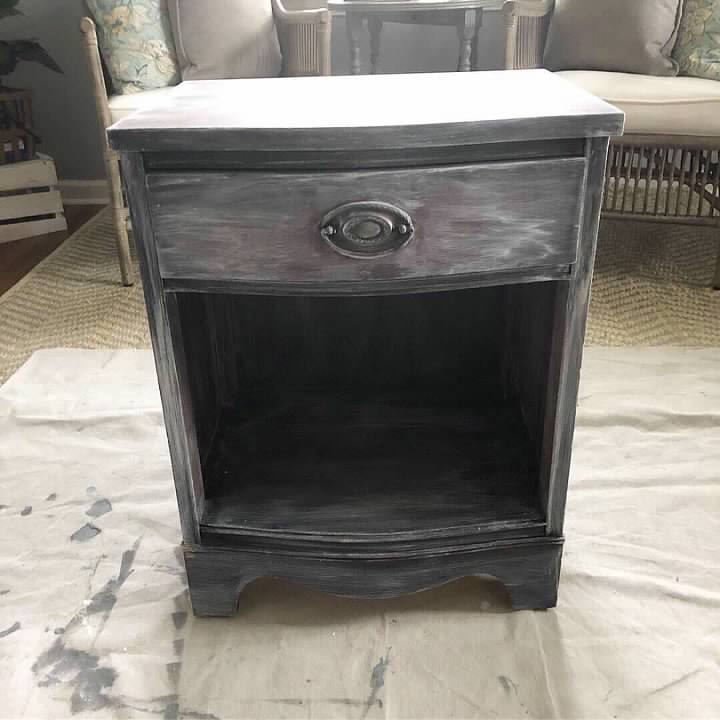
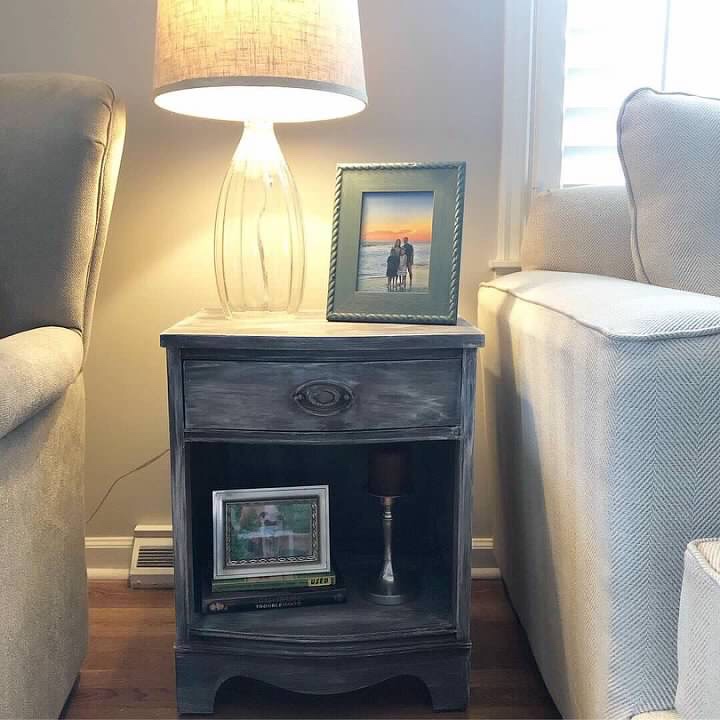
Side Table
When we got our new couch about a year ago, we needed a smaller side table between the couch and the chair in the living room. I’d had this piece from when my dad was a kid (which I believe he used as a bedside table) and have used it here and there throughout our homes.
For this piece, I only used the Limewash Glaze. Since it is an older piece and holds some meaning to our family, I just wanted to lighten it up and not paint it. So, I took a brush and the Limewash Glaze to give this piece a face lift. I just used the brush and painted the glaze on. I did end up applying a few coats depending on how the glaze took to the wood in certain areas.
This is the one project I did use the Sealing Wax on because I knew the table would get a lot of wear and tear with us using it to place our drinks. I did two coats of the Sealing Wax to complete the project which took just under two hours from start to finish.
To be honest, I was tempted to take the Limewash Glaze to all the dark furniture we still have left (like our master bedroom furniture) but decided to hold off…but that may be a summer project for me!
It’s been about a year since I painted my last piece, but I may try to paint some more this summer. I’ve always had a dream of buying old pieces, bringing the back to life with some paint and then selling them on Facebook Market Place. We’ll see. Summer would be about the only time I’d have to work on those kinds of projects…and even the summer days seem jam packed!
If you are scared of tackling a painting project, chalk (chalky) paint is the way to go.
I hope you are having a great week.
Jen


Wow! I think even I could manage this! I love your “new” pieces!
LikeLike
Thank you! I really enjoy painting and I love a good “before” and “after” 😂
LikeLiked by 1 person